
Country Lifestyle
Life of a Ranch Wife


By Lanna Mills
When you think of cowboys what comes to mind? Is it the big black hat? Perhaps their boots and spurs? How about the horses that they are mounted on? All in all, a cowboy cannot do much cowboyin’ without a good ranch horse under him.
Some ranches have done away with horses completely and use modern conveniences such as four wheelers, calf tables and dart guns to get done what needs to be done on the ranch.
Others choose to stick with what they know and trust, and that is working horseback. Horses are used in almost every aspect of ranch work — gathering cattle and driving them to new pasture or to the pen to be worked. They are used to ride fence and check for areas that are in need of repair and roping and dragging calves to the branding fire.
A horse can take you a lot of places you cannot get to in a vehicle. A horse can break through brush after a runaway yearling. Canyons or creeks can be ridden where a truck or four wheeler would never make it down an old cow trail.
The neighbor has some cattle that he can’t pen with his four wheeler and needs them taken to the sale barn. He often calls the cowboy who saddles ol’ bay, loads him in the trailer and heads to the pasture down the road.
He and his buddy unload and drive the cattle to the pen, or they catch them in the pasture, drag them in the trailer, and haul them out. All this could not have been done without a horse.
What makes a good ranch horse? We have all heard the old saying “practice makes perfect.” Well, that goes for horses too. Long miles and wet saddle blankets, the more they are used and the more experience they get, the better they become.
A cowboy depends on his horse so he has to be able to trust and count on him. The days are long and the work is hard so the horse has to be able to hold up. A ranch horse listens to his cowboy and does as he is instructed. When sorting cattle, the horse has to be agile and be able to quickly cut the cow out of the herd. When tying down cattle, the horse must keep the rope tight for the cowboy. When a cowboy dismounts, the horse must stand and wait for the cowboy. You sure don’t want a horse running off and leaving you to walk two miles back to the truck.
Pick up the June issue of OKFR!
By Ann Asher
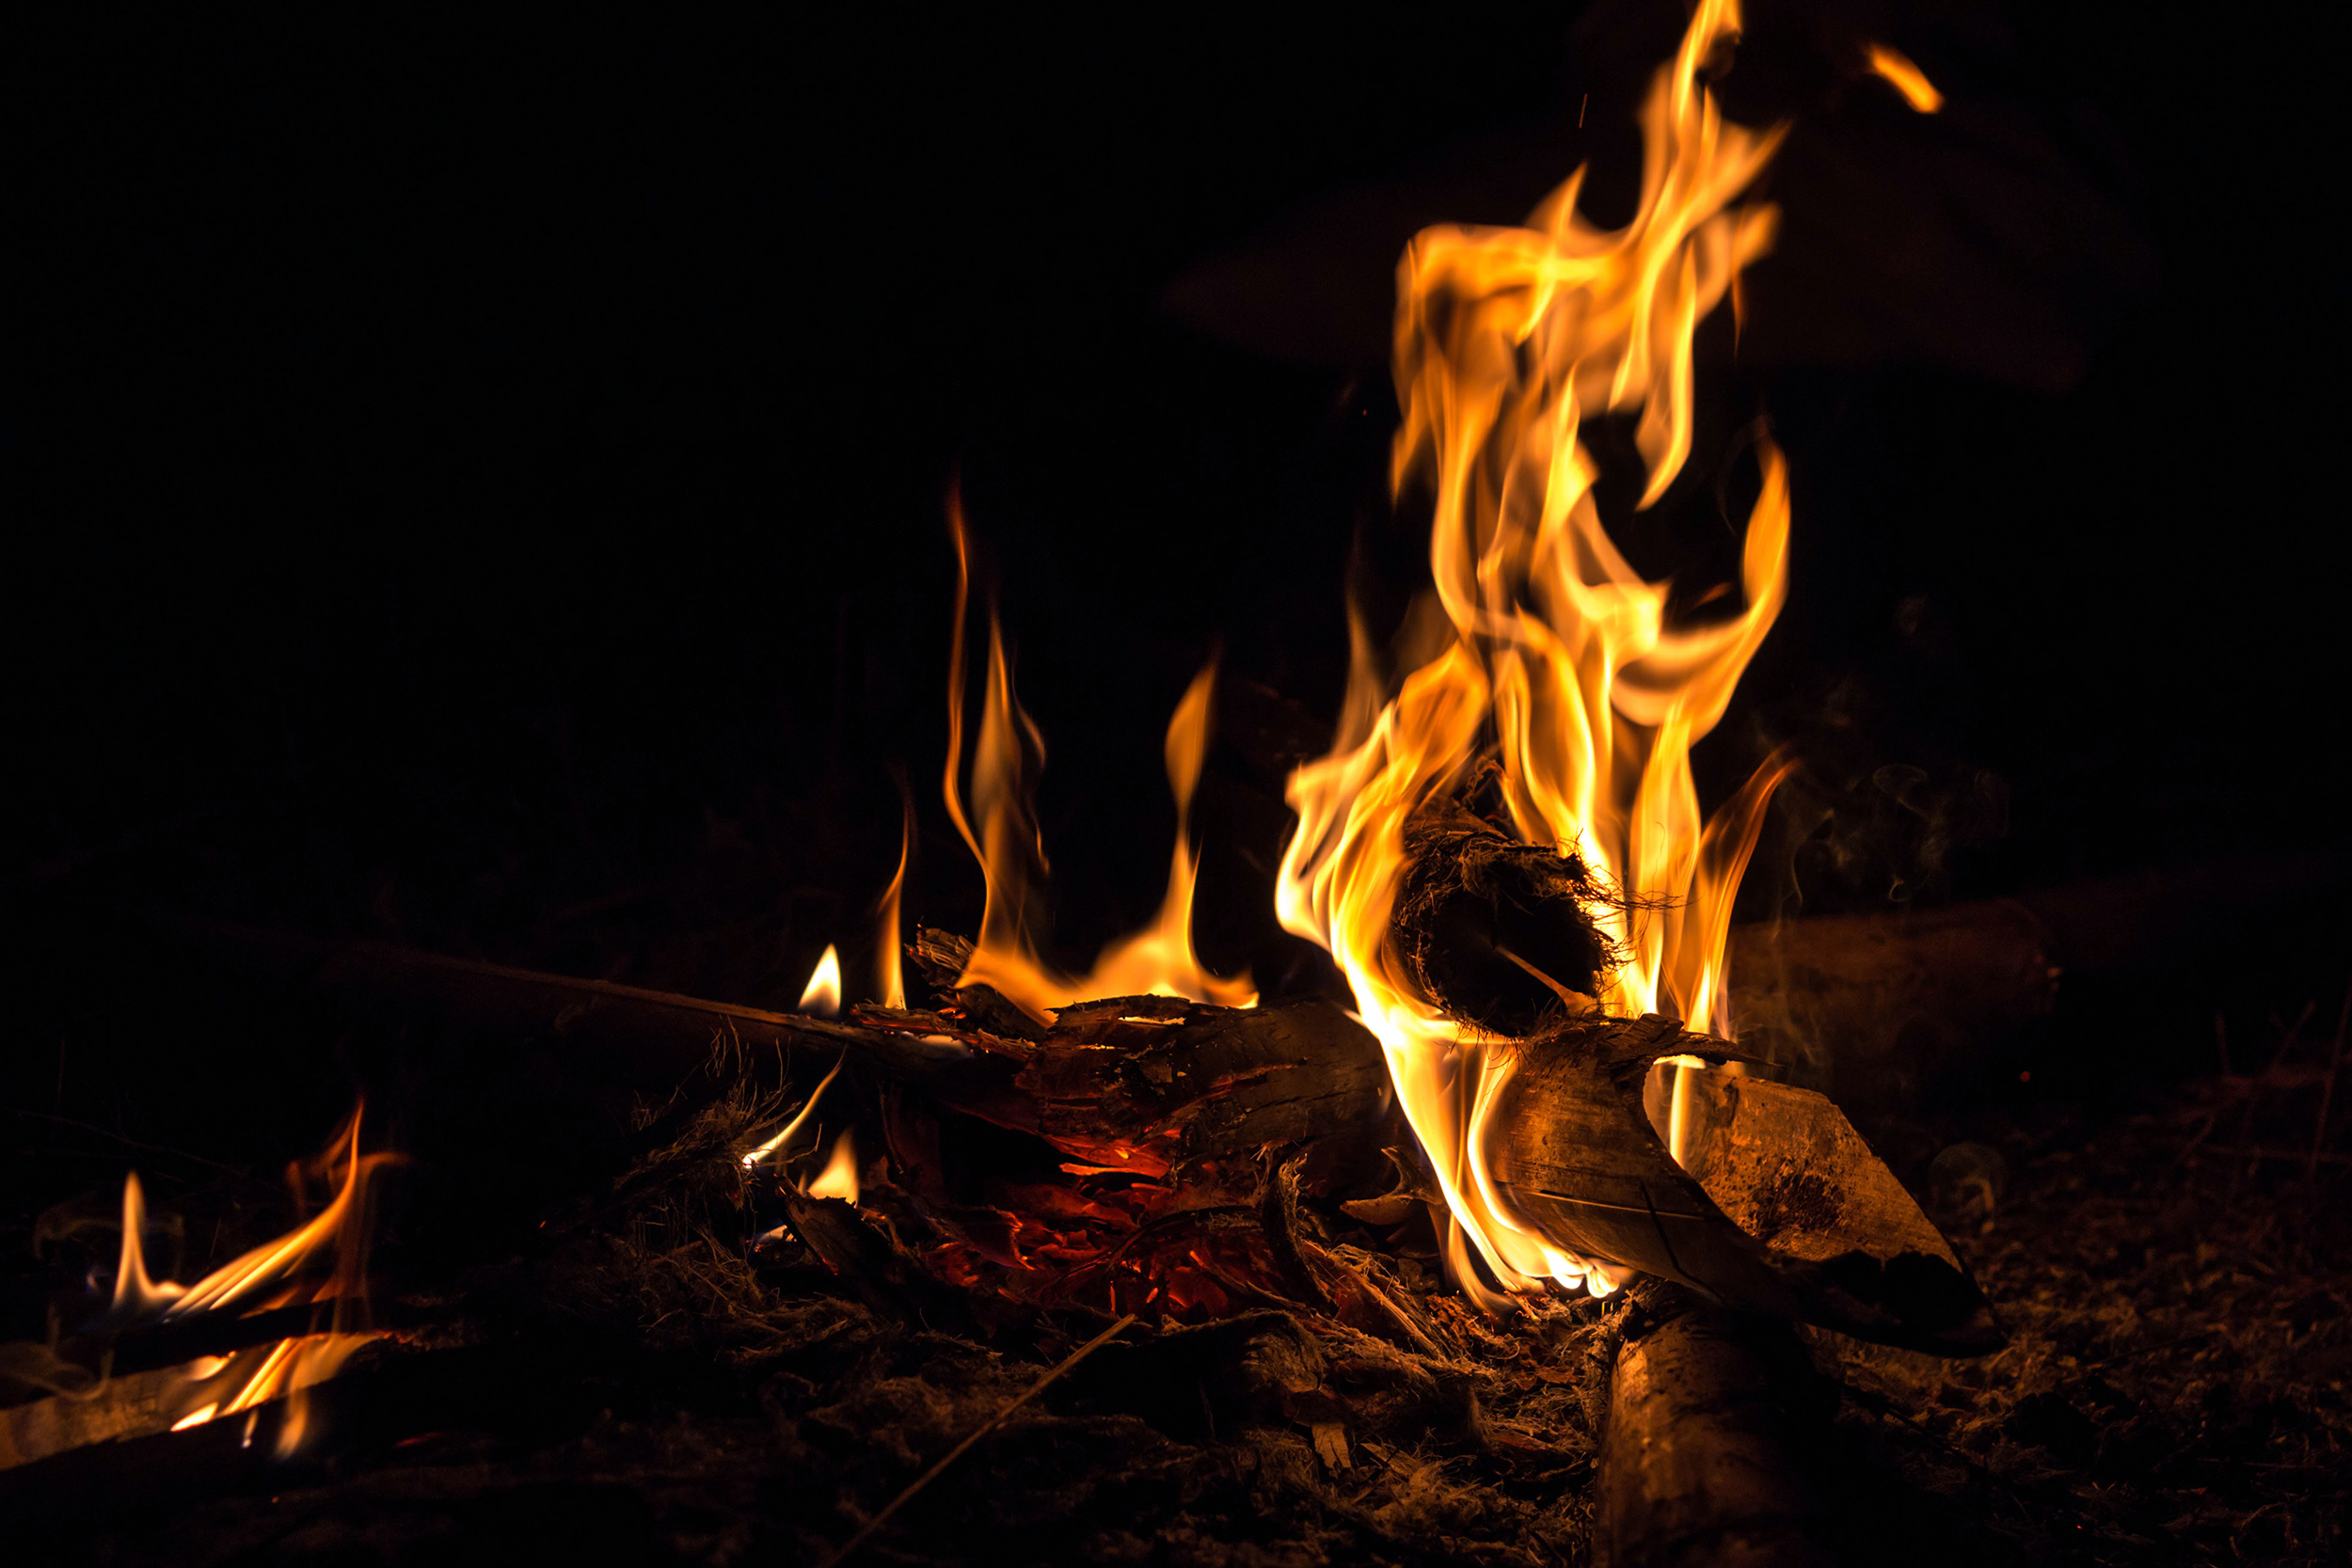
The first cool evenings of September make sitting outside sound good again. After months of Oklahoma heat, a fire pit, a few chairs and an evening outdoors can finally feel inviting.
Before you strike the match, take a few minutes to make sure your fire pit area is ready for fall.
Start with location. Set a fire pit on a level, noncombustible surface such as concrete, brick or patio blocks, not directly on dry grass or other vegetation. The National Fire Protection Association recommends keeping fire pits at least 10 feet from anything that can burn, including decks, siding, fences, overhanging branches and outdoor structures.
That distance matters even more after a dry summer. Even when evenings cool down, dormant grass, fallen leaves and other dry vegetation can catch a spark fast. Clear leaves, sticks and other debris from around the pit before you use it, and skip the fire on windy evenings.
Check whether your county or town has burn restrictions in place. Drought can linger well into fall, and local rules may change with fire danger. A fire that was fine one weekend may be a bad idea the next if conditions have worsened.
For wood-burning pits, use clean, dry, seasoned firewood. Don’t burn trash, treated lumber or painted wood. Never use gasoline or other flammable liquids to start or relight a fire. Commercial fire starters or ordinary kindling are much safer.
Once the fire is going, keep it manageable. A backyard fire pit doesn’t need to become a bonfire to keep you warm. Smaller fires are easier to control, throw fewer embers and are much easier to put out at the end of the evening.
Keep children and pets well away from the pit, and set chairs far enough back that no one sits directly over the heat or in the path of sparks. The NFPA recommends a three-foot child-free zone around the fire.
Look at what else is nearby before everyone settles in. Blankets, loose clothing, outdoor cushions and even the stack of firewood beside the pit can become hazards if they sit too close.
Keep a way to put out the fire within reach. A garden hose, a bucket of water or a shovel and dirt can all work, depending on your fire pit. Never leave a fire unattended, even if it seems to be dying down.
When the evening is over, make sure the fire is completely out. For a wood fire, water the coals, stir them and water them again until no heat, glow or flame remains. Let ashes cool completely, then store them in a metal container with a secure lid, away from anything that can burn.
A fire pit doesn’t need much to become one of the best parts of fall. A safe spot, a little preparation and a manageable fire are usually all it takes. Then all that’s left is finding a comfortable chair and enjoying an Oklahoma evening that is finally cool enough to stay outside.
By NTFR Staff
It seems to happen every summer. The garden suddenly produces more tomatoes, cucumbers and green beans than anyone could possibly eat, and before long someone asks, “Maybe I should learn to can?”
For many families, canning is a tradition passed down for generations. For others, it’s a new hobby that offers the satisfaction of stocking pantry shelves with homegrown food. Either way, getting started can feel overwhelming. Pressure canners, boiling water baths, jars, lids, processing times and safety recommendations are enough to make anyone wonder where to begin.
Home canning isn’t difficult once you understand the basics.
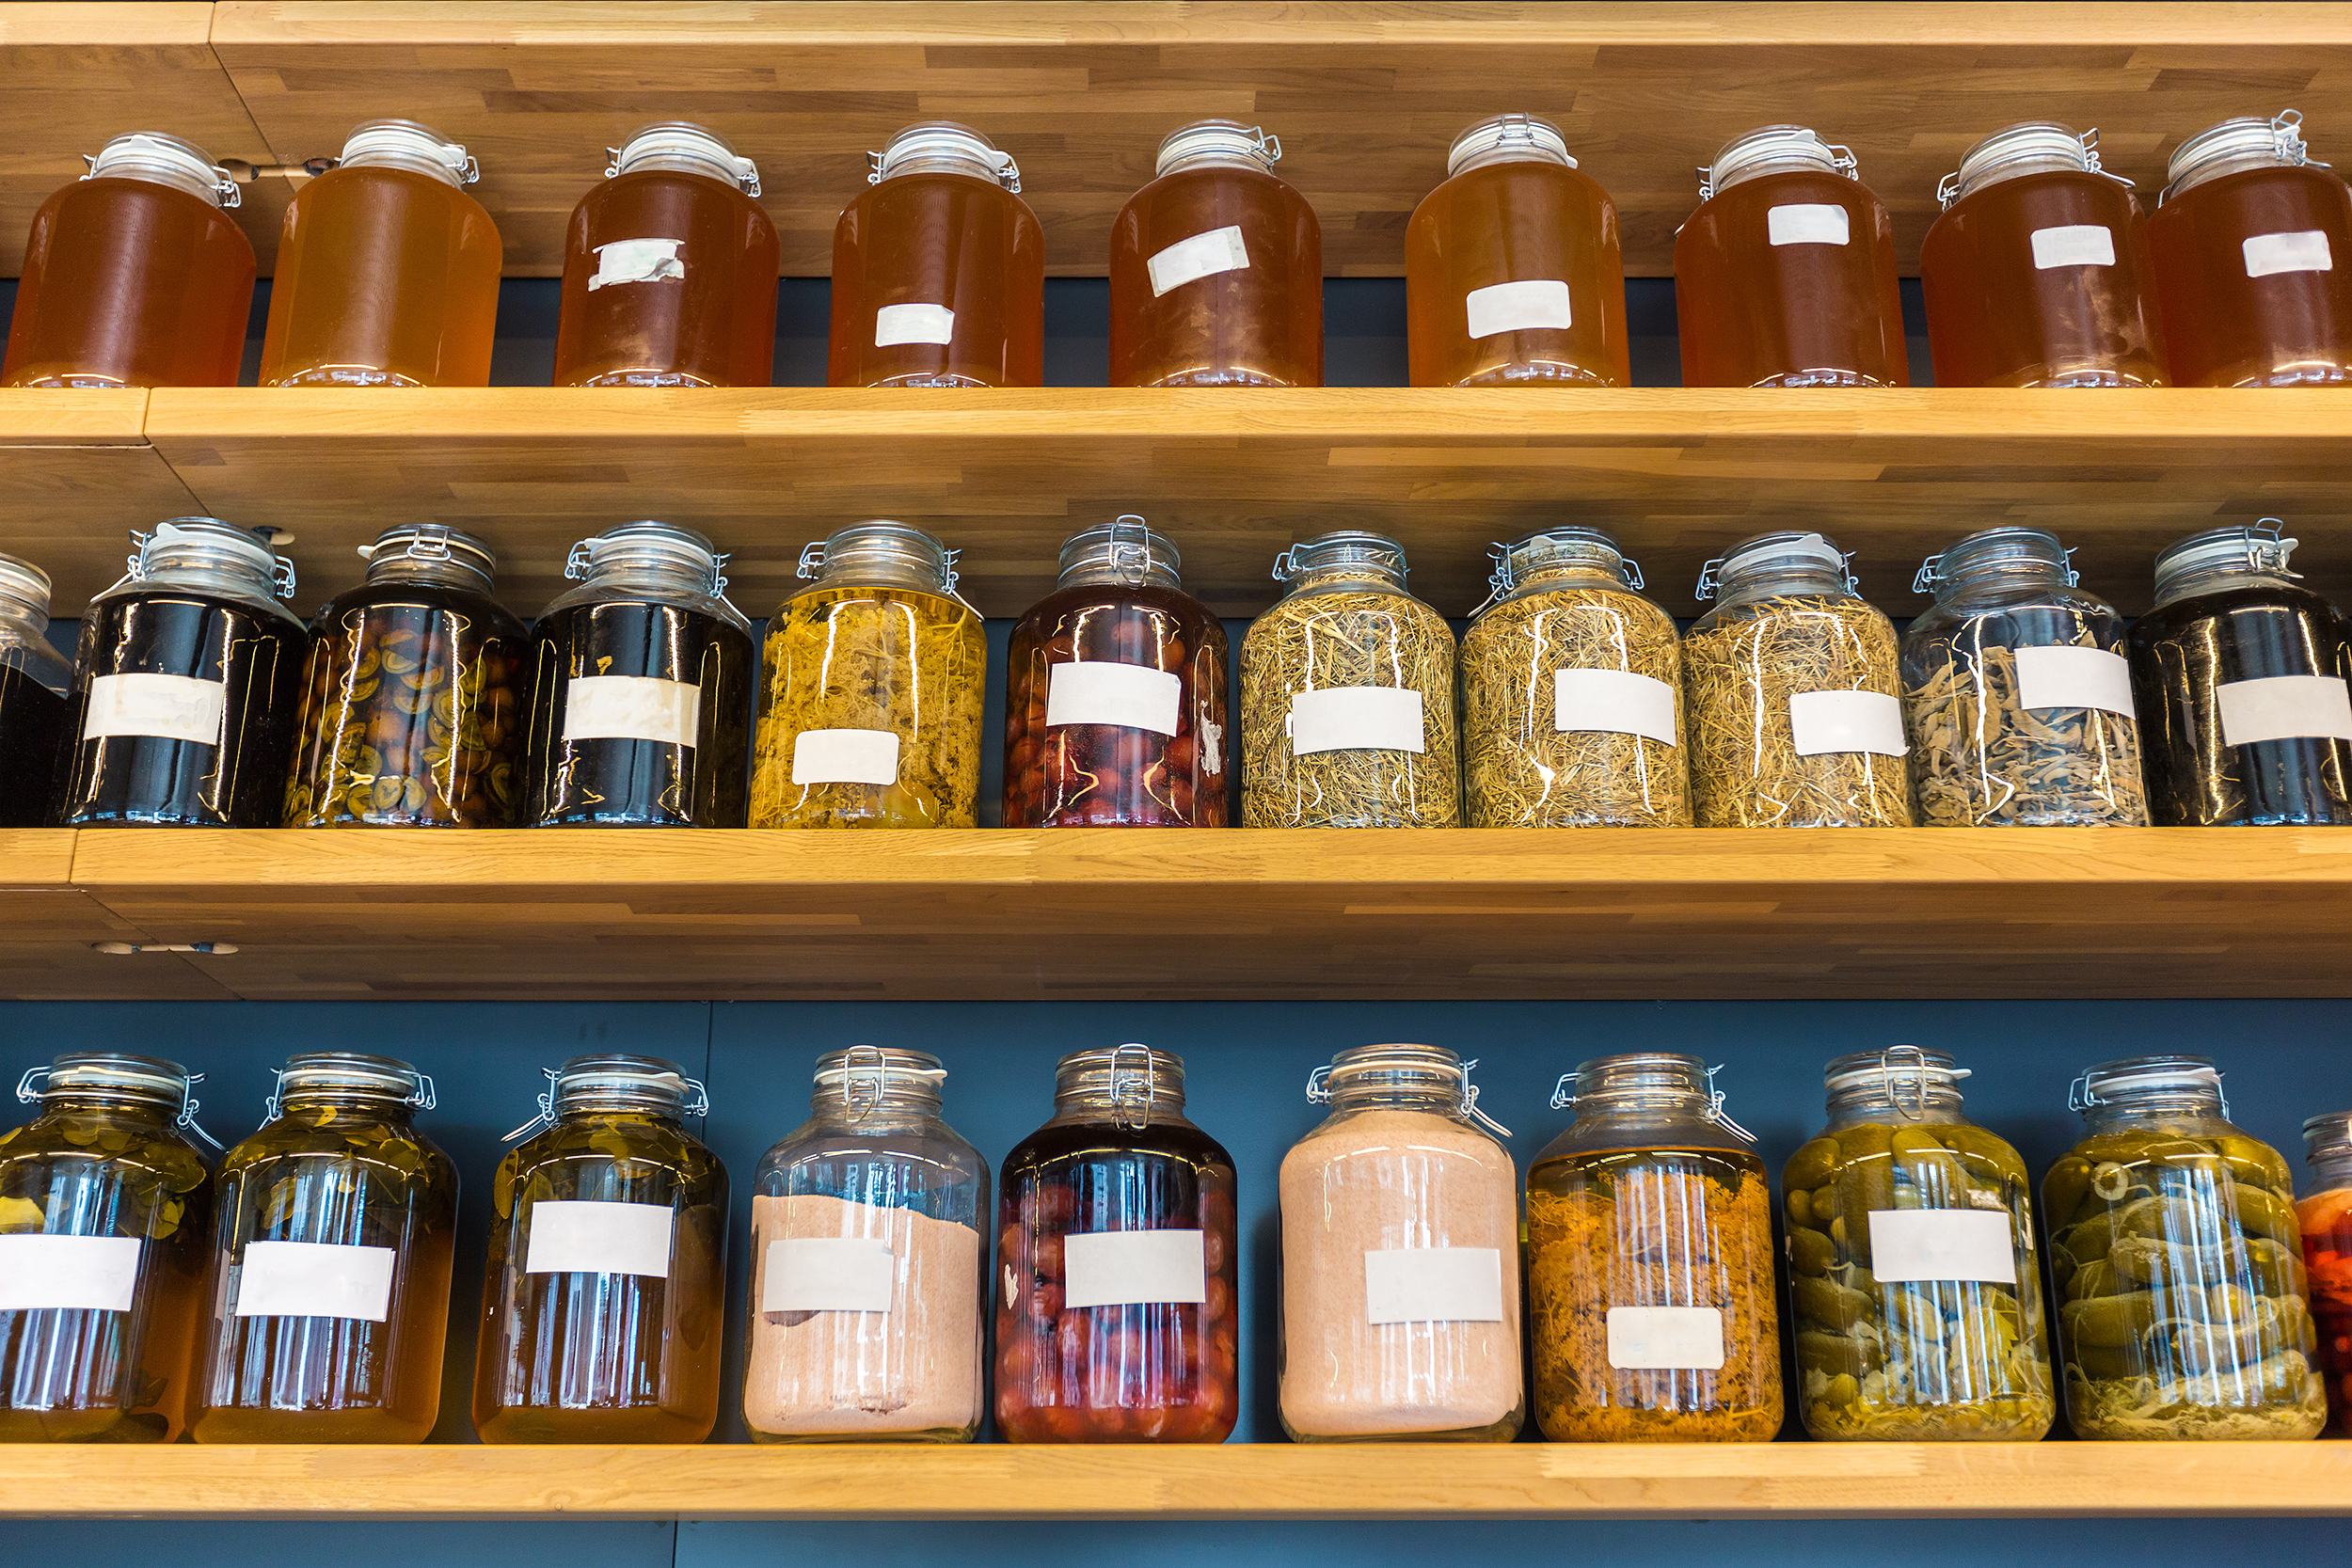
Canning preserves food in sealed jars by heating them to destroy microorganisms and create a vacuum seal. The USDA approves only two methods for home canning: boiling water bath canning and pressure canning. Which one you use depends entirely on what you’re preserving.
A boiling water bath is exactly what it sounds like. You submerge filled jars completely in boiling water and process them for a specific amount of time. Because boiling water only reaches 212 degrees Fahrenheit at sea level, this method is safe only for foods that are naturally high in acid or have enough added acid to prevent dangerous bacteria from growing.
That makes water bath canning a good fit for jams, jellies, fruit preserves, pickles, chutneys, fruit butters and many tomato products that have the proper amount of bottled lemon juice or citric acid added according to a tested recipe.
Pressure canning works differently. A sealed canner traps steam, and the temperature climbs well above the boiling point of water to about 240 degrees Fahrenheit. That higher temperature is necessary to destroy Clostridium botulinum spores, which can survive ordinary boiling and produce the toxin that causes botulism.
Because of that, you must pressure can low-acid foods such as green beans, corn, carrots, potatoes, meats, poultry, seafood and soups. A boiling water bath isn’t safe for these foods, no matter how long you boil the jars.
For most beginners, water bath canning is the easiest place to start. The equipment costs less, the process is simpler and recipes like strawberry jam or dill pickles are forgiving enough to build confidence. Many people who enjoy preserving fruit eventually buy a pressure canner once they want to put up vegetables or homemade stock.
Pressure canning doesn’t need to be intimidating, either. Modern pressure canners include multiple built-in safety features and are far different from the exploding canners in the old stories many people heard decades ago. Like any kitchen tool, they’re safe when used according to the manufacturer’s directions and with tested recipes.
Whichever method you choose, one rule never changes: always use recipes that have been scientifically tested. Family recipes may taste wonderful fresh, but they aren’t always safe for canning. Changing ingredient amounts, thickening soups with flour, adding extra vegetables or reducing vinegar can all affect the safety of the finished product. The USDA and the National Center for Home Food Preservation remain the gold standards for home canning recipes and processing recommendations.
Today’s recommendations may also differ from the ones your grandparents followed. Research has improved over the years, and food safety guidance has changed with it. Methods like open-kettle canning, oven canning and sealing jars by turning them upside down are no longer considered safe for shelf-stable foods.
If you’ve never canned before, you don’t have to preserve an entire garden your first weekend. Start with one recipe. Learn how to prepare the jars, measure headspace, remove air bubbles and process them correctly. Once you hear that satisfying “ping” as the lids seal, you’ll understand why so many people find canning rewarding.
Opening a jar of peaches in January or serving homemade salsa long after the tomatoes are gone is a special kind of reward. With a little knowledge, the right equipment and a commitment to tested recipes, anyone can preserve the harvest safely for months to come.
By Bryce Angell
My eyes are glued up to the shelf, a brand-new pair of Mucks. They’d be in my possession, but I lack the certain bucks.
I could go without my Pepsi for a month or maybe two. But the headache would be pounding like a freight train passin’ through.
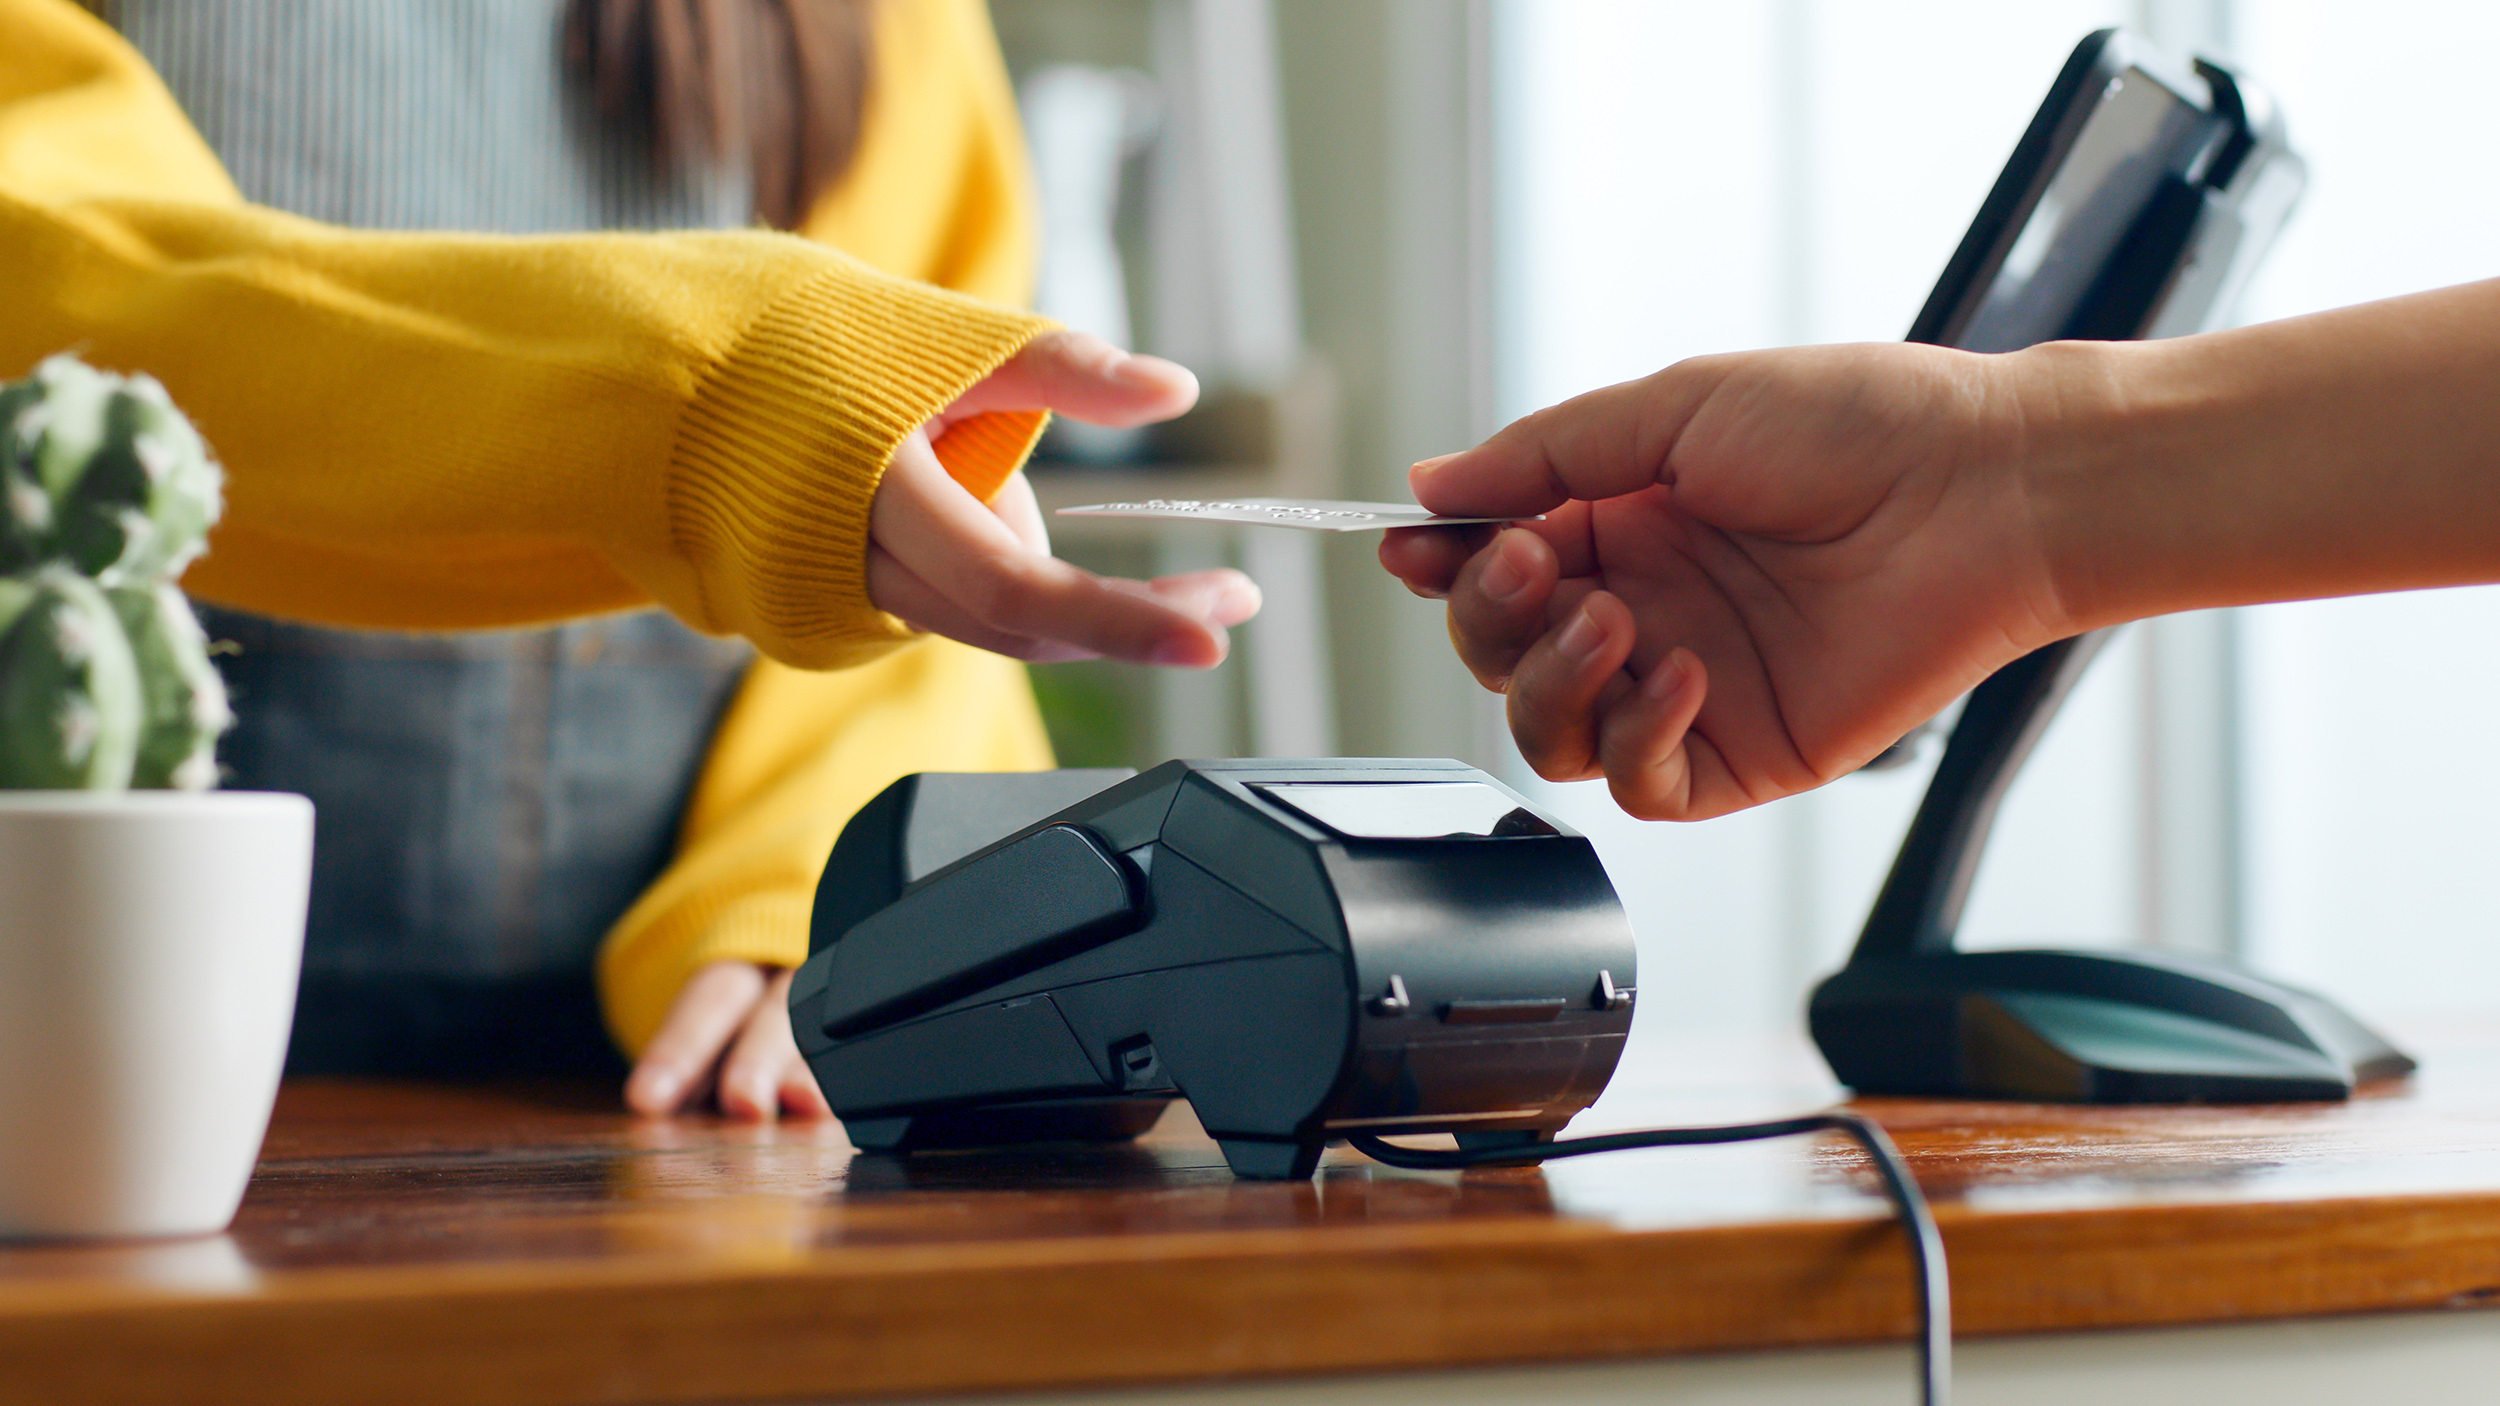
I’ve got my Visa plastic for emergencies and such. The boots are kinda spendy. Do I really care that much?
I grab my precious cargo and I’m tingling to my roots. The clerk says, “Hundred eighty.” Must be gold in them there boots!
To purchase I can justify. It’s more than just a treat. No more sittin’ in the saddle with my cold and frozen feet.
I’ve waited days to wear them. Time to saddle up Ol’ Blue.
But my boots won’t fit the stirrups. What’s a broke cowboy to do?
The boots ain’t never goin’ back. I burned the dang receipt. My wife will never know the cost. Is that what’s called deceit?
The Co-Op might be open. I’ve seen stirrups there to buy. They close at 6:00 p.m. It’s 6:05 p.m. No use to even try.
I’ll drive out to the shoppin’ mall. They’ve got a western store. But their prices are extravagant, not for the country poor.
I’m riflin’ through the stirrups. Find a pair that fits my Mucks. I take ’em to the clerk. She says, “Two hundred twenty bucks.”
This time I cough and choke on down my Wrigley’s Spearmint chew. The clerk said, “Sure they’re spendy, but they’re made for guys like you.”
I wonder what she meant ’cuz I ain’t got the cash to spare. I swear she meant hi-rollers with their nose up in the air.
Still, I bought the brand-new stirrups with my plastic, once again.
Does it hurt to use my Visa card, every now and then?
The smuggish patrons, back in line, are giving me the stare.
They’re prob’ly thinkin’, “Poor cowboy.” I hurry out of there!
I’m addin’ up my purchases. Looks like four hundred bucks. And with the Gov’ner’s share I’m in the class of stupid clucks.
I burned the Visa card receipt, so that should take care of it from where I stand. I’m wonderin’ now if my warm feet are worth the half a grand?


-
 Country Lifestyle2 years ago
July 2017 Profile: J.W. Hart
-
 Farm & Ranch2 years ago
From Plow to Plentiful: The Most Important Inventions in Agricultural History
-
 Attractions9 years ago
48 Hours in Atoka Remembered
-
 Equine9 years ago
Umbilical Hernia
-
 Country Lifestyle5 years ago
The Two Sides of Colten Jesse
-
 Outdoors9 years ago
Grazing Oklahoma: Honey Locust
-
 Farm & Ranch8 years ago
Hackberry (Celtis spp.)
-
 Attractions3 months ago
Oklahoma Ghost Towns – Navajoe