Equine
Umbilical Hernia
By Lauren Lamb
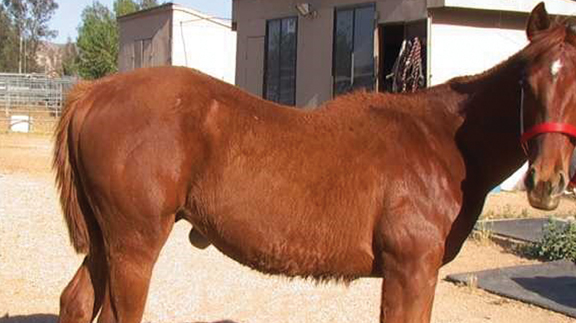
An umbilical hernia is a defect in the horse’s ventral body wall at the location of the umbilicus. The umbilicus is the equivalent of our belly button. The umbilicus is where the umbilical cord attaches to the foal while it is developing in the mare’s uterus. The umbilical cord is made up of a vein, two arteries and the urachus. The umbilical vein and artery carry blood to and from the fetus as it is developing in the uterus. The urachus is a tube that connects to the fetus’ bladder and carries urine from the developing fetus.
Umbilical hernias are seen in foals between the ages of birth and three months of age. The hernia bump seen on the bottom of the abdomen is made up of skin, subcutaneous tissue, peritoneum (lining of the abdomen) and a piece of the gastrointestinal tract.
Questions concerning umbilical hernias frequently asked by owners:
- How does an umbilical hernia develop?
- Are they genetic?
- How can I prevent an umbilical hernia?
Some evidence shows umbilical hernias may have a genetic component; however, the genetic influence is most likely mild. This means breeding a mare and/or stud that had an umbilical hernia when they were foals will not result in an offspring with an umbilical hernia. The flip side of the coin is also true; crossing a mare and stud with no history of umbilical hernias will not result in a foal without an umbilical hernia.
Some have a strong belief that foaling behavior of the mare immediately after delivery can have an influence on whether a foal will develop an umbilical hernia. The natural behavior of a mare following delivery of her foal is to remain lying down until the foal starts to move and becomes more active. This may take several minutes for the foal to become active. Once the foal becomes active, the mare will stand up and break the umbilical cord about one inch from the foal’s navel. When a mare stands prematurely, the risk of an umbilical hernia forming can be increased. The most common reason for a mare to stand prematurely is human intervention. When humans try to rush into the stall to assist the foal or mare, the mare will become nervous and stand up too early.
An umbilical infection can lead to an umbilical hernia. The post foaling care of the umbilicus can influence whether or not a foal will develop an umbilical infection. The umbilicus should be dipped in dilute Nolvasan solution or betadine solution two to three times a day for the first three days of life. An umbilical infection is likely to occur if the umbilicus is not dipped in an antiseptic solution for the first three days after birth.
The size of an umbilical hernia is measured in fingers, aka the number of fingers that will fit in the hernia. A small hernia is less than three fingers in size. A large hernia is anything bigger than three fingers in size. The hernia should not be painful on palpation, nor should there be any heat or swelling around the hernia. When you place your fingers in the hernia, the contents of the hernia should be easily reduced (pushed back into the abdomen). A veterinarian should be contacted as soon as possible if you notice any heat, swelling, pain on palpation or you cannot reduce the hernia. A veterinarian should also be contacted as soon as possible if a horse with an umbilical hernia starts to colic. All these clinical signs are evidence that a portion of the intestine is stuck within the hernia. When the intestine is stuck within the hernia, the blood supply to the intestine can be compromised, which will result in the intestine becoming necrotic—dead. The hernia should be checked daily to ensure none of the previously mentioned clinical signs have developed.
Several treatment options are available for hernias. One conservative treatment option for small hernias (less than three fingers), is to reduce the hernia one to three times a day. By reducing the hernia you allow the hernia ring (defect in the body wall) to heal close. When the foal reaches four months of age, there is little chance that the hernia will heal with conservative therapy. Any foal that is greater than four months of age with an umbilical hernia will need a surgery to repair the hernia.
An umbilical hernia has two surgical repair options—both require general anesthesia and can be performed in a clean stall or a surgery room. A hernia repair performed in a surgery room has lower complication rate following surgery.
The first surgical option is called the closed technique. With the closed technique, the abdominal cavity is not opened, but the skin and subcutaneous tissue are opened. The hernia is repaired by placing large sutures across the abdominal defect. The closed technique decreases the risk of an infection occurring within the abdomen, but it increases the risk that a portion of the intestine is sutured to the body wall. The closed technique is usually used in cases were the surgery is performed in a stall within the barn. In this location, there is higher environmental contamination compared to a surgery room.
The open technique is the second option. With the open technique the abdominal cavity is opened and large sutures are placed across the defect to close the hernia. With the open technique, the risk of the intestine being sutured to the abdominal wall are significantly decreased. The open technique should be performed in a surgery room.
Following surgery, foals are kept on stall rest with no hand walking for two weeks and then turnout in a small paddock or trap for an additional two weeks. After four weeks, foals are allowed to go back to regular turnout and exercise.
Umbilical hernias are abdominal wall defects that are commonly seen in foals. The cause of an umbilical hernia is not completely understood; however, both genetics and husbandry practice can contribute to a horse developing an umbilical hernia. Surgery is not always required to repair umbilical hernias unless the foal is over four months of age. At this age surgery is needed to repair the hernia. Following surgery, foals had a good prognosis.
By the time the June issue reaches readers, the regular breeding season is winding down for many horse owners. Some mares are already confirmed in foal, some breeding decisions have been pushed aside for another year and some owners are already thinking ahead to next season. For those with an older mare they hope to breed, that early planning can make a real difference.
Older mares can still produce foals, but they may need more help than younger mares. Age affects the reproductive system, and those changes can make it harder for a mare to become pregnant, stay pregnant or carry a healthy foal to term. That does not mean every older mare is a poor candidate for breeding. It does mean owners should go into the process with realistic expectations and a good veterinarian involved from the beginning.
A mare’s reproductive age does not always match her number of birthdays. Some mares in their mid-to-late teens settle easily and carry foals without much trouble. Others begin having problems earlier. Past reproductive history matters. A mare that has had regular foals may be different from an older maiden mare that spent most of her life showing, racing, working or sitting open. Health, body condition, uterine health and conformation all play a role.
One of the main challenges with older mares is egg quality. As mares age, their eggs age, too. Older eggs are more likely to have abnormalities that prevent fertilization, stop early embryo development or lead to early pregnancy loss. Even when breeding is timed well and the stallion has good fertility, the mare may not settle because the egg itself is no longer as viable as it once was.
The uterus also changes with age. The lining of the uterus, called the endometrium, can become less healthy and less able to support pregnancy. Over time, some mares develop fibrosis or scarring within the uterus. This can interfere with the placenta’s ability to develop and support a growing fetus. A mare may get pregnant early, but then lose the pregnancy because the uterus cannot maintain it.
Older maiden mares can face an additional problem. When a mare cycles, it is normal for some fluid to be present in the uterus. A healthy reproductive tract clears that fluid through uterine contractions and cervical relaxation. In some older mares, especially those that have never had a foal, the cervix may not relax well enough. Fluid can build up and remain in the uterus after breeding. That fluid can damage sperm, interfere with an embryo and increase the risk of infection or inflammation.
Post-breeding inflammation is another concern. All mares experience some uterine inflammation after breeding, but most clear it within a reasonable amount of time. Older mares may not clear it well. This can leave the uterus in a poor environment for pregnancy. A veterinarian may recommend uterine lavage, medication or other treatment after breeding to help the mare clear fluid and inflammation.
External conformation can also affect fertility. As some mares age, especially taller, thinner mares or mares that have had multiple foals, the reproductive tract may tilt in a way that allows manure or air to contaminate the vulva and vagina. Poor vulvar conformation can increase the risk of uterine infection. In some cases, a veterinarian may recommend a Caslick’s procedure to help protect the reproductive tract.
Because so many factors can be involved, an older mare should have a breeding soundness exam before the next season begins. This may include a physical exam, reproductive ultrasound, uterine culture, cytology and possibly a uterine biopsy. These tools help determine whether the mare has infection, inflammation, fluid retention, poor uterine health or other issues that need to be addressed before breeding.
Timing is also important. With an older mare, it is usually better to start early in the season rather than waiting until late. More cycles give the veterinarian more chances to manage the mare properly. Early planning also allows time to treat infection, improve body condition, schedule semen shipments, evaluate the stallion’s fertility and consider whether cooled semen, frozen semen, live cover or another option makes the most sense.
Owners should also look closely at the mare’s overall health. A mare that is too thin, too heavy, metabolically unstable, lame or dealing with chronic illness may struggle to conceive or carry a foal. Good nutrition, dental care, hoof care and vaccination planning all matter. Breeding may be a reproductive decision, but pregnancy affects the whole horse.
For some mares, advanced reproductive options may be worth discussing. Embryo transfer allows a valuable mare to produce a foal without carrying it herself. This may be helpful for older mares that can produce an embryo but should not carry a pregnancy, or for mares that are still competing. Other assisted reproductive techniques may also be available through specialized equine reproduction centers.
The hard truth is that breeding an older mare can take more time, money and patience. Not every mare will get in foal, even with good care. Some mares should not be bred if the risks are too high. Still, many older mares can produce healthy foals when problems are identified early and managed correctly.
For owners hoping to raise one more foal from a favorite mare, the best plan is to start the conversation before breeding season arrives. Talk with a veterinarian, evaluate the mare honestly and make decisions based on her health, history and reproductive exam. Hope is part of breeding horses, but planning gives that hope a much better chance.
By Summer McMillen
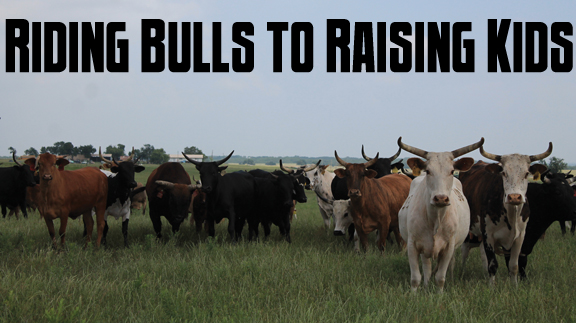
Everyone that knows anything about horses knows that there are bad ones, good ones, and great ones.
The bad ones are good for nothing. You can’t catch them, you can’t saddle them, and you can’t get on them without feeling like you need a helmet, some kind of padded vest and, an instruction manual. Once you do mount up the whole ride is a battle and heaven forbid, you actually have a job to do because they are little to no help in holding the herd. We all find ourselves owning a bad one or two throughout our lives. Best case scenario is they find a more tolerable home to go to through via a horse sale or the classifieds. Worst case scenario all you can do is say “Vaya con Dios,” put a sign on them that reads “Do Not Attempt,” and turn them out to pasture. Hoping they are decent enough to stay within the borders and make a beautiful yard ornament.
Good horses are usually much more tolerable. They’re pretty easy to catch, saddle, and hop up on. Sometimes they might have a bad habit or two like setting back when they’re tied to a fence or, getting cold backed on early mornings that you tolerate because they are so skilled in a specific field. A good horse is usually only good for one thing. They have a niche talent m, if you will. They can be a good heel horse. A good head horse. The horse you want to gather pastures on because you know he won’t knicker or rare up when you get dropped off in the jig line. A good kid horse. Your rodeo horse. The horse you put your wife on when she’s being a little wimpy that day. Good horses usually get sold because they are proficient in their given field and they find good homes making both parties happy. We will all own many good horses in our lives and be happy to do so.
Great horses are a rare and treasured possession. They are simultaneously easy and hard to own. Easy because you can do anything on them. Hard because everyone is always trying to buy them from you. A great horse stands still while your kid pulls their head down all the way to the ground so they can halter them. A great horse is never cold backed and always ready to cinch tight and take off. A great horse can be ridden in the pasture and the rodeo arena on the same day. A great horse doesn’t need practice. A great horse is always willing to do anything you ask of them at any given moment. Great horses find their homes as horse colts and usually live out the rest of their days at the same home because great horses are irreplaceable.
People and horses are not all that different. There are bad, good, and great ones. The more time I spend around horses the more I am convinced of the kind of person I want to be. “Bad” will absolutely not do. “Good“ is much too common and just doesn’t quite cut it more often than not. “Great” is what I aspire to be.
Great can be defined in so many ways when we let human standards get involved but, I want to be great as defined in the qualities of a great horses.
I want to be kind and patient while my children are learning. I want to be ready to help anyone who asks me. I want to go the extra mile. I want to make my home a beautiful place to come to after a full day’s work outside. I want to not be thrown off by life’s twists and turns but, firm in my faith.
So, basically what I’m saying is I want to be a great horse. And honestly there are worse things we could all aspire to be.
Here’s to great horses. May we know them, love them, and if we’re lucky be great just like them.
By Dr. Garrett Metcalf
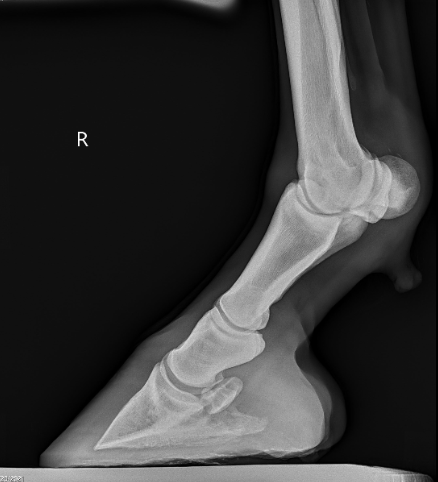
The suspensory ligament is a vital component of the limb of a horse to produce normal locomotion and support. The suspensory ligament is a common area of concern in performance horses of various disciplines and can be single handedly the cause of lameness or performance issues. This article is going to look at a specific degenerative disease of the suspensory ligament and what horses are at risk for this disease.
DSLD or degenerative suspensory ligament desmitis was first discovered in the early 1980’s in Peruvian Paso horses. The name has been changed because the suspensory ligament is not the only organ affected from the disease but the suspensory is ultimately the biggest issue. The newer name, ESPA or equine systemic proteoglycan accumulation, is more correct because other ligaments and tissues are affected by this disease. In this article we will only focus on the suspensory ligament. The most commonly affected breeds are Peruvian Paso, Paso Fino, Morgan, Saddlebred, Warmblood, Paints, American Quarter Horse, and Thoroughbred breeds. The age of onset of the disease is variable among breeds but it is more common to be seen in middle age to older horses. However it has been documented in horses as young as one year of age. The disease generally will have a slow insidious onset that can go undiagnosed for months or years depending on the horses work and discipline.
A horse that begins to show early signs of DSLD may have a vague lameness issue that is difficult to isolate and they most likely will resolve with a period of rest. As the horse returns to moderate level of work the lameness will return. This scenario may go on for several months or more before the discovery of the DSLD is made. The first indication of DSLD is often pain isolated in the suspensory branches or fetlock region when a flexion test is performed. Horses with DSLD will also have a “dropped” fetlock appearance because the suspensory is the main supporting structure of the fetlock joint. DSLD can affect the hind limbs, forelimbs or all limbs at the same time. A unique sign of DSLD is that not just one limb is affected but rather bilaterally affecting the limbs, meaning it will either affect either both forelimbs or hind limbs at the same time. It is my experience that the hind limbs are more commonly affected compared to the forelimbs. Horses will often have enlargement of the fetlock region and increased joint fluid or wind puffs. Horses will often have a straight hock or post legged hind limb appearance. Horses will often shift weight frequently in an effort to get relief from the discomfort and this can be confused with other lameness issues or foot related pain.
Diagnosis of DSLD is often made by clinical signs, breed and ultrasound findings. Ultrasound imaging of the suspensory ligaments will often show diffuse enlargement of the suspensory body and branches. The suspensory ligament will have a poor heterogeneous fiber pattern with periligamentious soft issue thickening from scar tissue deposition and edema or fluid within the tissue. Radiographs of the lower limb may reveal abnormal bone changes in the sesamoid bones behind the fetlock joints and even osteoarthritis of the pastern and or fetlock joints. A definitive diagnosis can be made from a biopsy of a ligament in the neck called the nuchal ligament, but is not often performed because of the invasiveness of the biopsy.
Treatment is very limited and it is mostly geared towards protection of further damage by prolonged rest. Pain management is also important to attempt to keep the horse as comfortable as possible. Different shoeing techniques can be used with marginal success. In early cases of DSLD, a suspensory shoe that helps engage more work from the deep digital flexor tendon can help elevate the fetlock and offer more protection to the suspensory ligament. The devastating thing about this disease is that there is no cure and there are hardly any good options to slow the progression of the disease. DSLD carries a poor prognosis when the diagnosis is made in any breed of horse or any discipline. Although some cases can be managed better than others, it often progresses to the point of debilitating pain and discomfort to the point of humane euthanasia especially in the Peruvian Paso breed.
Read more in the February 2023 issue of Oklahoma Farm & Ranch.


-
 Country Lifestyle2 years ago
July 2017 Profile: J.W. Hart
-
 Attractions9 years ago
48 Hours in Atoka Remembered
-
 Farm & Ranch1 year ago
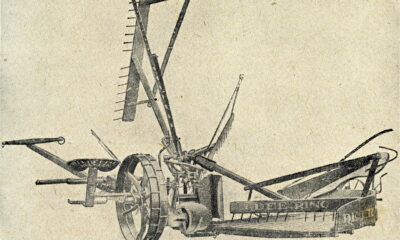
From Plow to Plentiful: The Most Important Inventions in Agricultural History
-
 Country Lifestyle5 years ago
The Two Sides of Colten Jesse
-
 Outdoors8 years ago
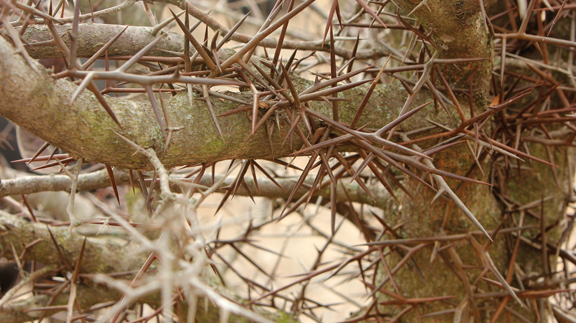
Grazing Oklahoma: Honey Locust
-
 Farm & Ranch8 years ago
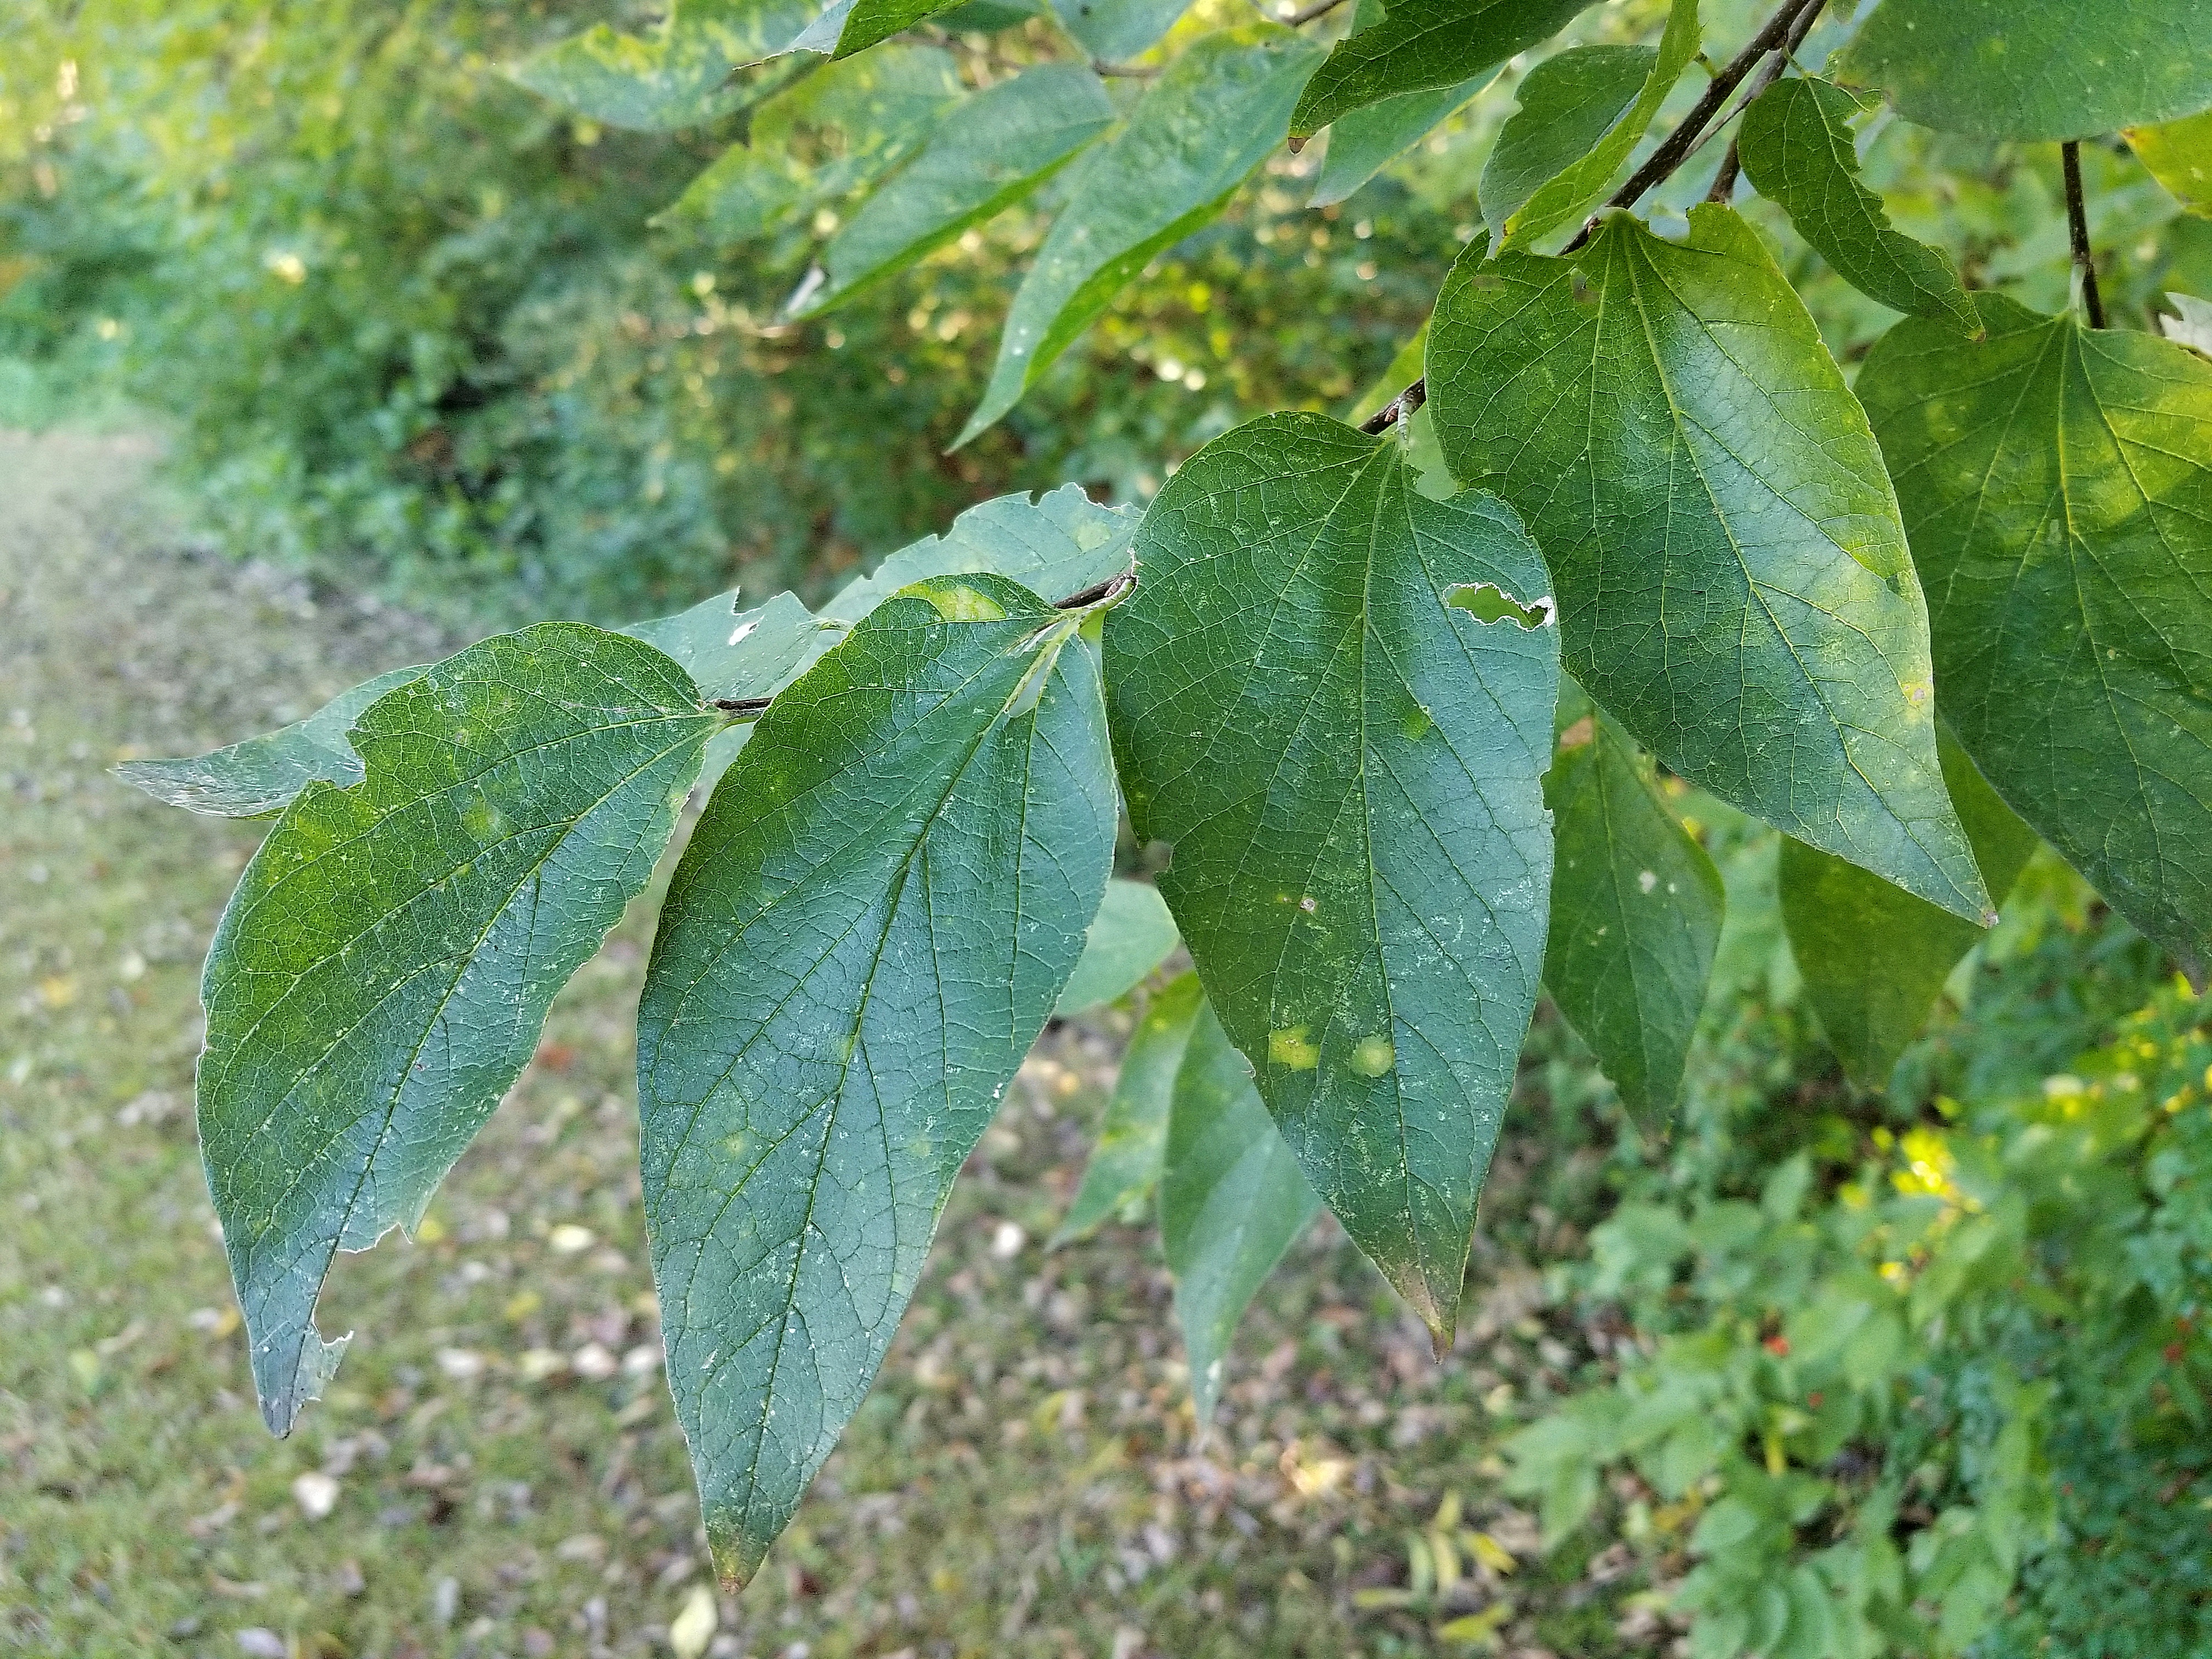
Hackberry (Celtis spp.)
-
 Equine6 years ago
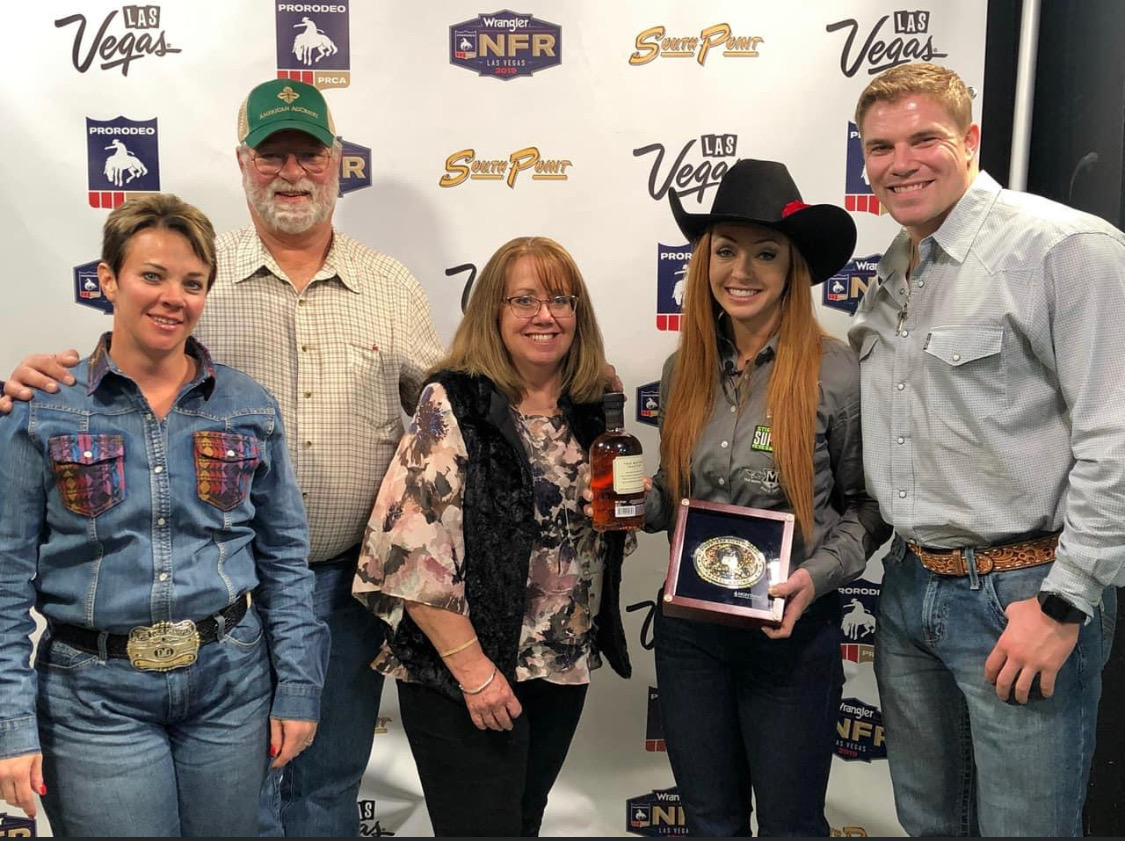
On the Road with Emily Miller-Beisel
-
 Country Lifestyle10 years ago
The House a Treasure Built