
Country Lifestyle
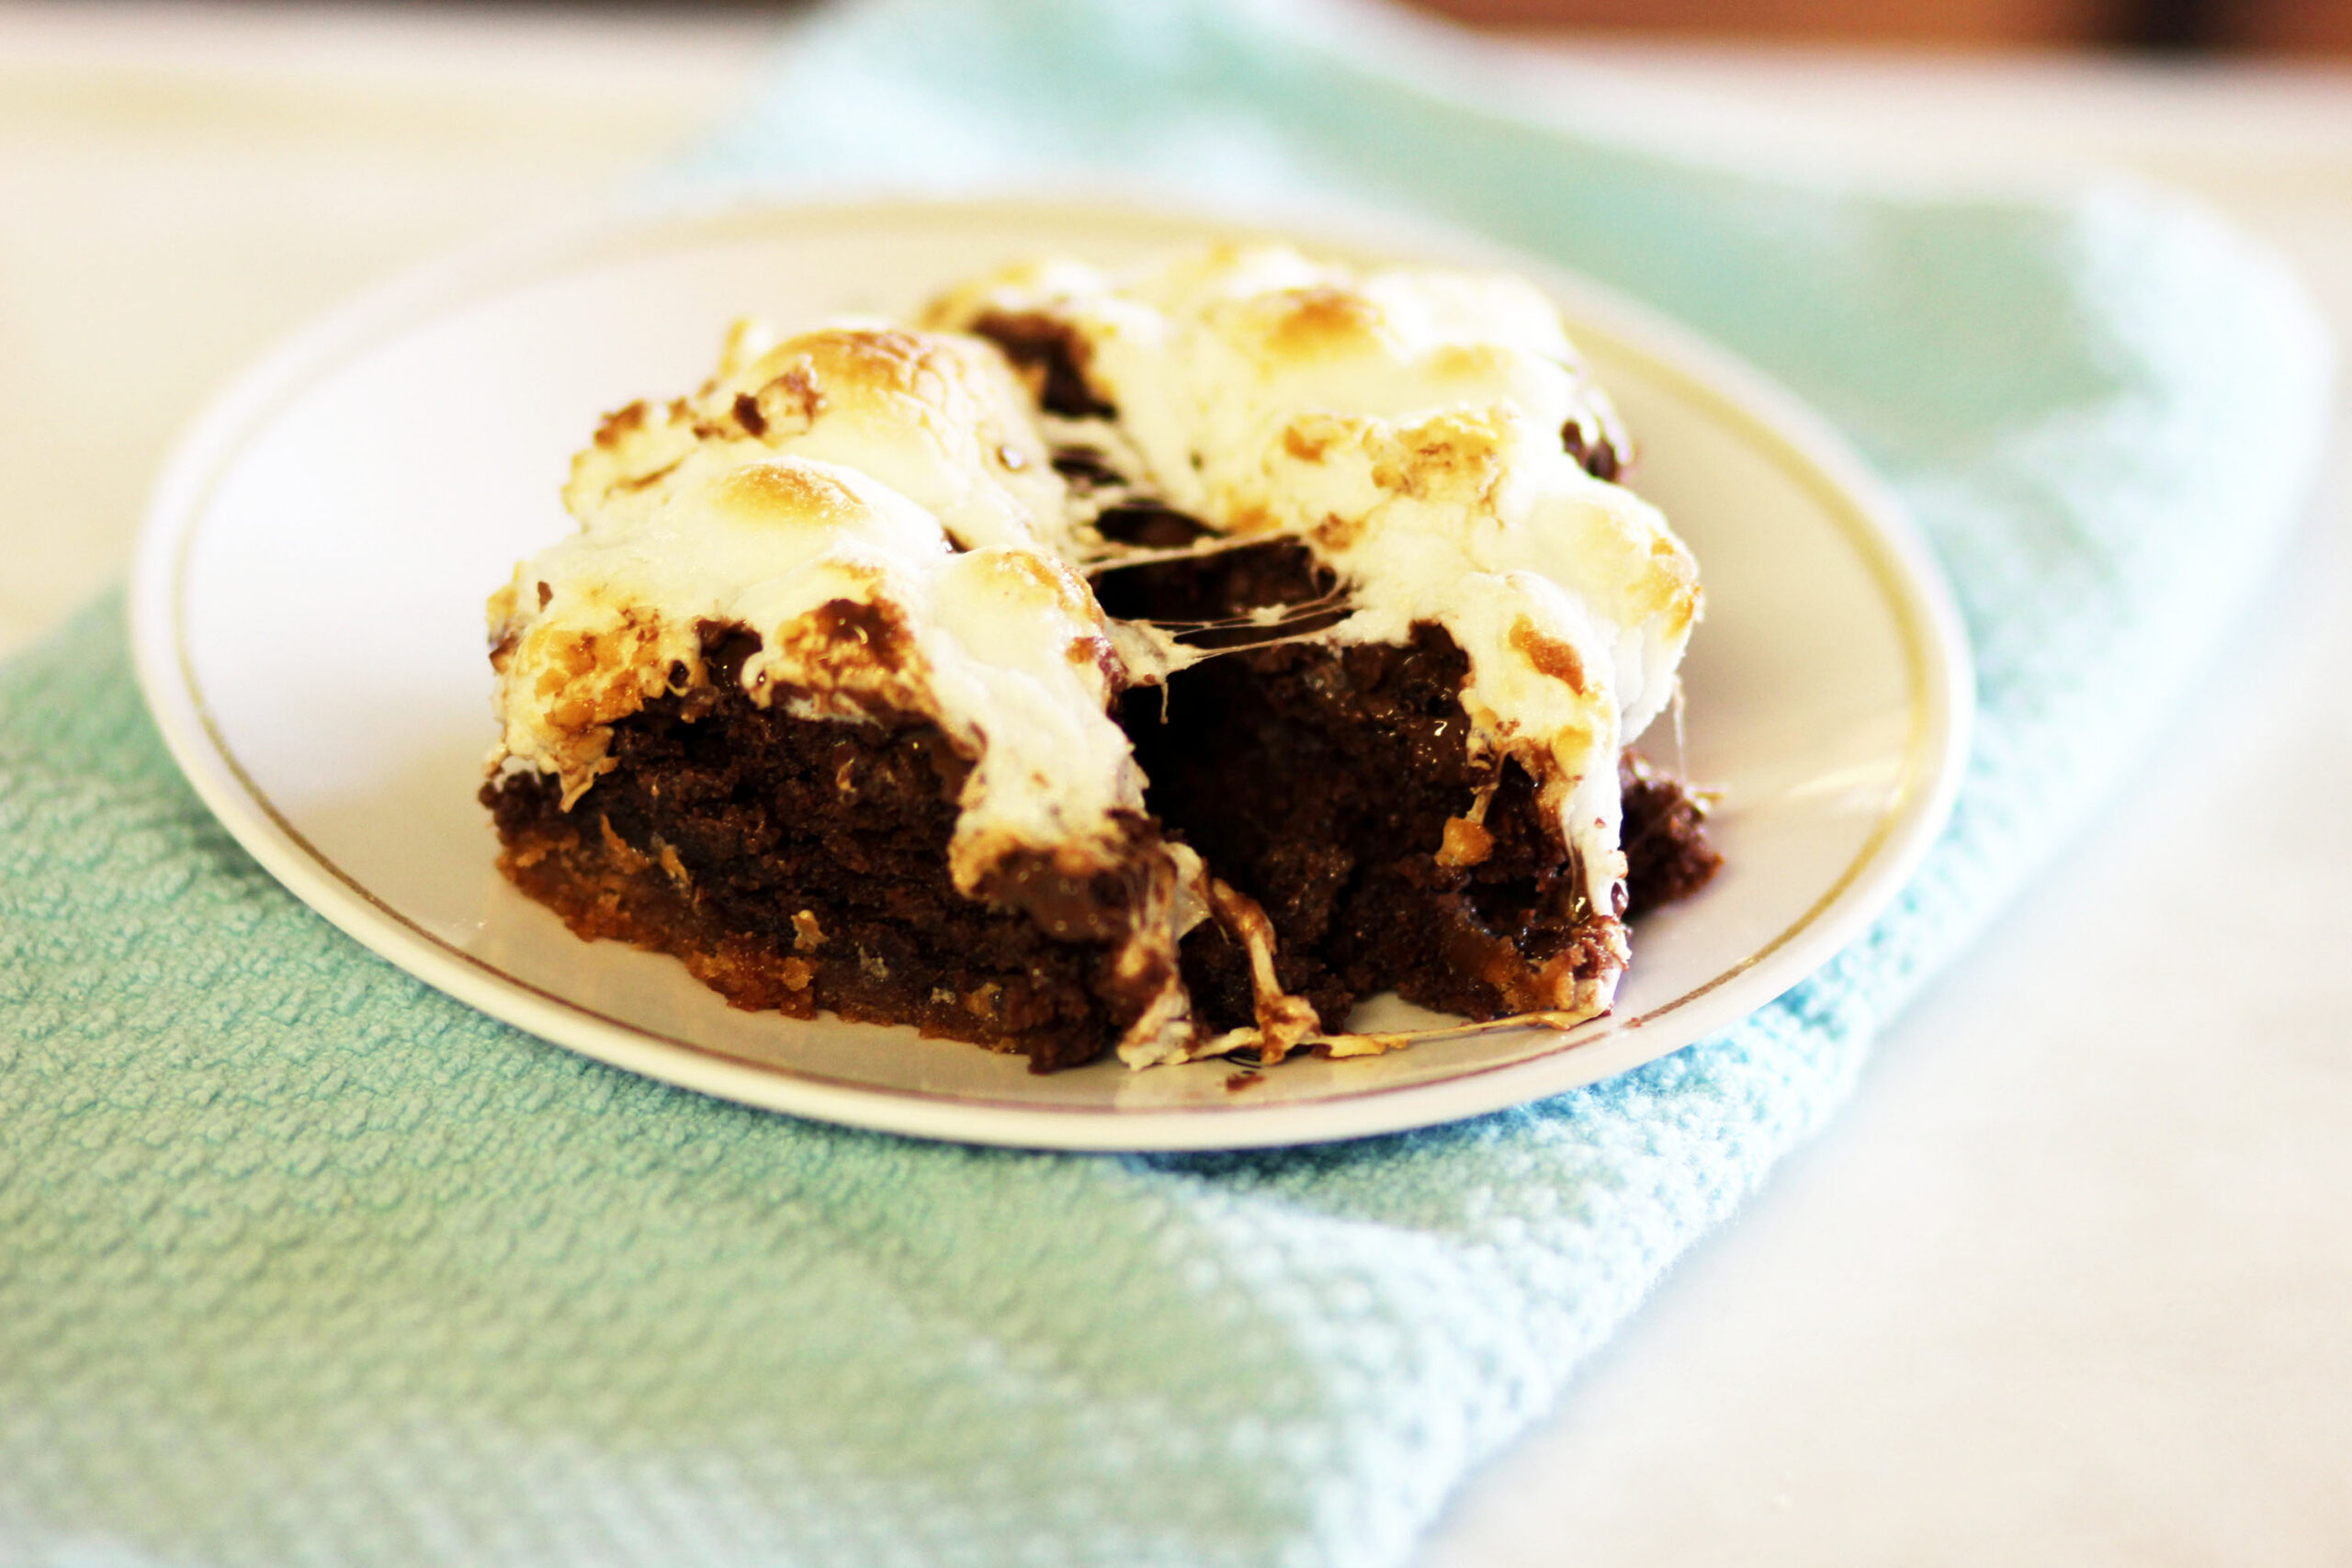
S’mores Brownies

By Lacey Vilhauer
Ingredients
Graham Cracker Crust
- 1 cup pulverized graham crackers (about 6 graham crackers, blended or food processed)
- 1/3 cup butter, melted
- 1/4 cup brown sugar
Brownies
- 12 Tbsp butter
- 1 cup brown sugar, lightly packed
- 3/4 cup white sugar
- 4 eggs
- 1 1/2 tsp vanilla
- 1/4 cup flour
- 1 cup cocoa powder
- 1 cup milk chocolate chips
Toppings
- 4 Hershey’s bars
- 1 (10-ounce) bag mini marshmallows
Instructions
Preheat oven to 350 degrees Fahrenheit. Grease an 8×8 baking pan.
Graham Cracker Crust: Pulverize graham crackers and stir in melted butter. Stir in brown sugar. Press into the bottom of the baking pan and set aside.
Brownies: In a heavy saucepan, melt butter and stir in white and brown sugars. Stir over medium heat for 1 to 2 minutes, until sugar starts to dissolve. Remove from heat and add vanilla. Add eggs one at a time, whisking each into the sugar and butter mixture. Add flour and cocoa powder and stir together. Fold in chocolate chips. Pour brownie mixture over the graham cracker crust. Bake for 40 minutes.
Remove from oven and turn oven to broil. Immediately lay chocolate bars over the top and cover them with mini marshmallows (or cut-up large marshmallows). Broil for one to two minutes, watching closely so they don’t burn, and remove once brown. Let cool.
By NTFR Staff
It seems to happen every summer. The garden suddenly produces more tomatoes, cucumbers and green beans than anyone could possibly eat, and before long someone asks, “Maybe I should learn to can?”
For many families, canning is a tradition passed down for generations. For others, it’s a new hobby that offers the satisfaction of stocking pantry shelves with homegrown food. Either way, getting started can feel overwhelming. Pressure canners, boiling water baths, jars, lids, processing times and safety recommendations are enough to make anyone wonder where to begin.
Home canning isn’t difficult once you understand the basics.
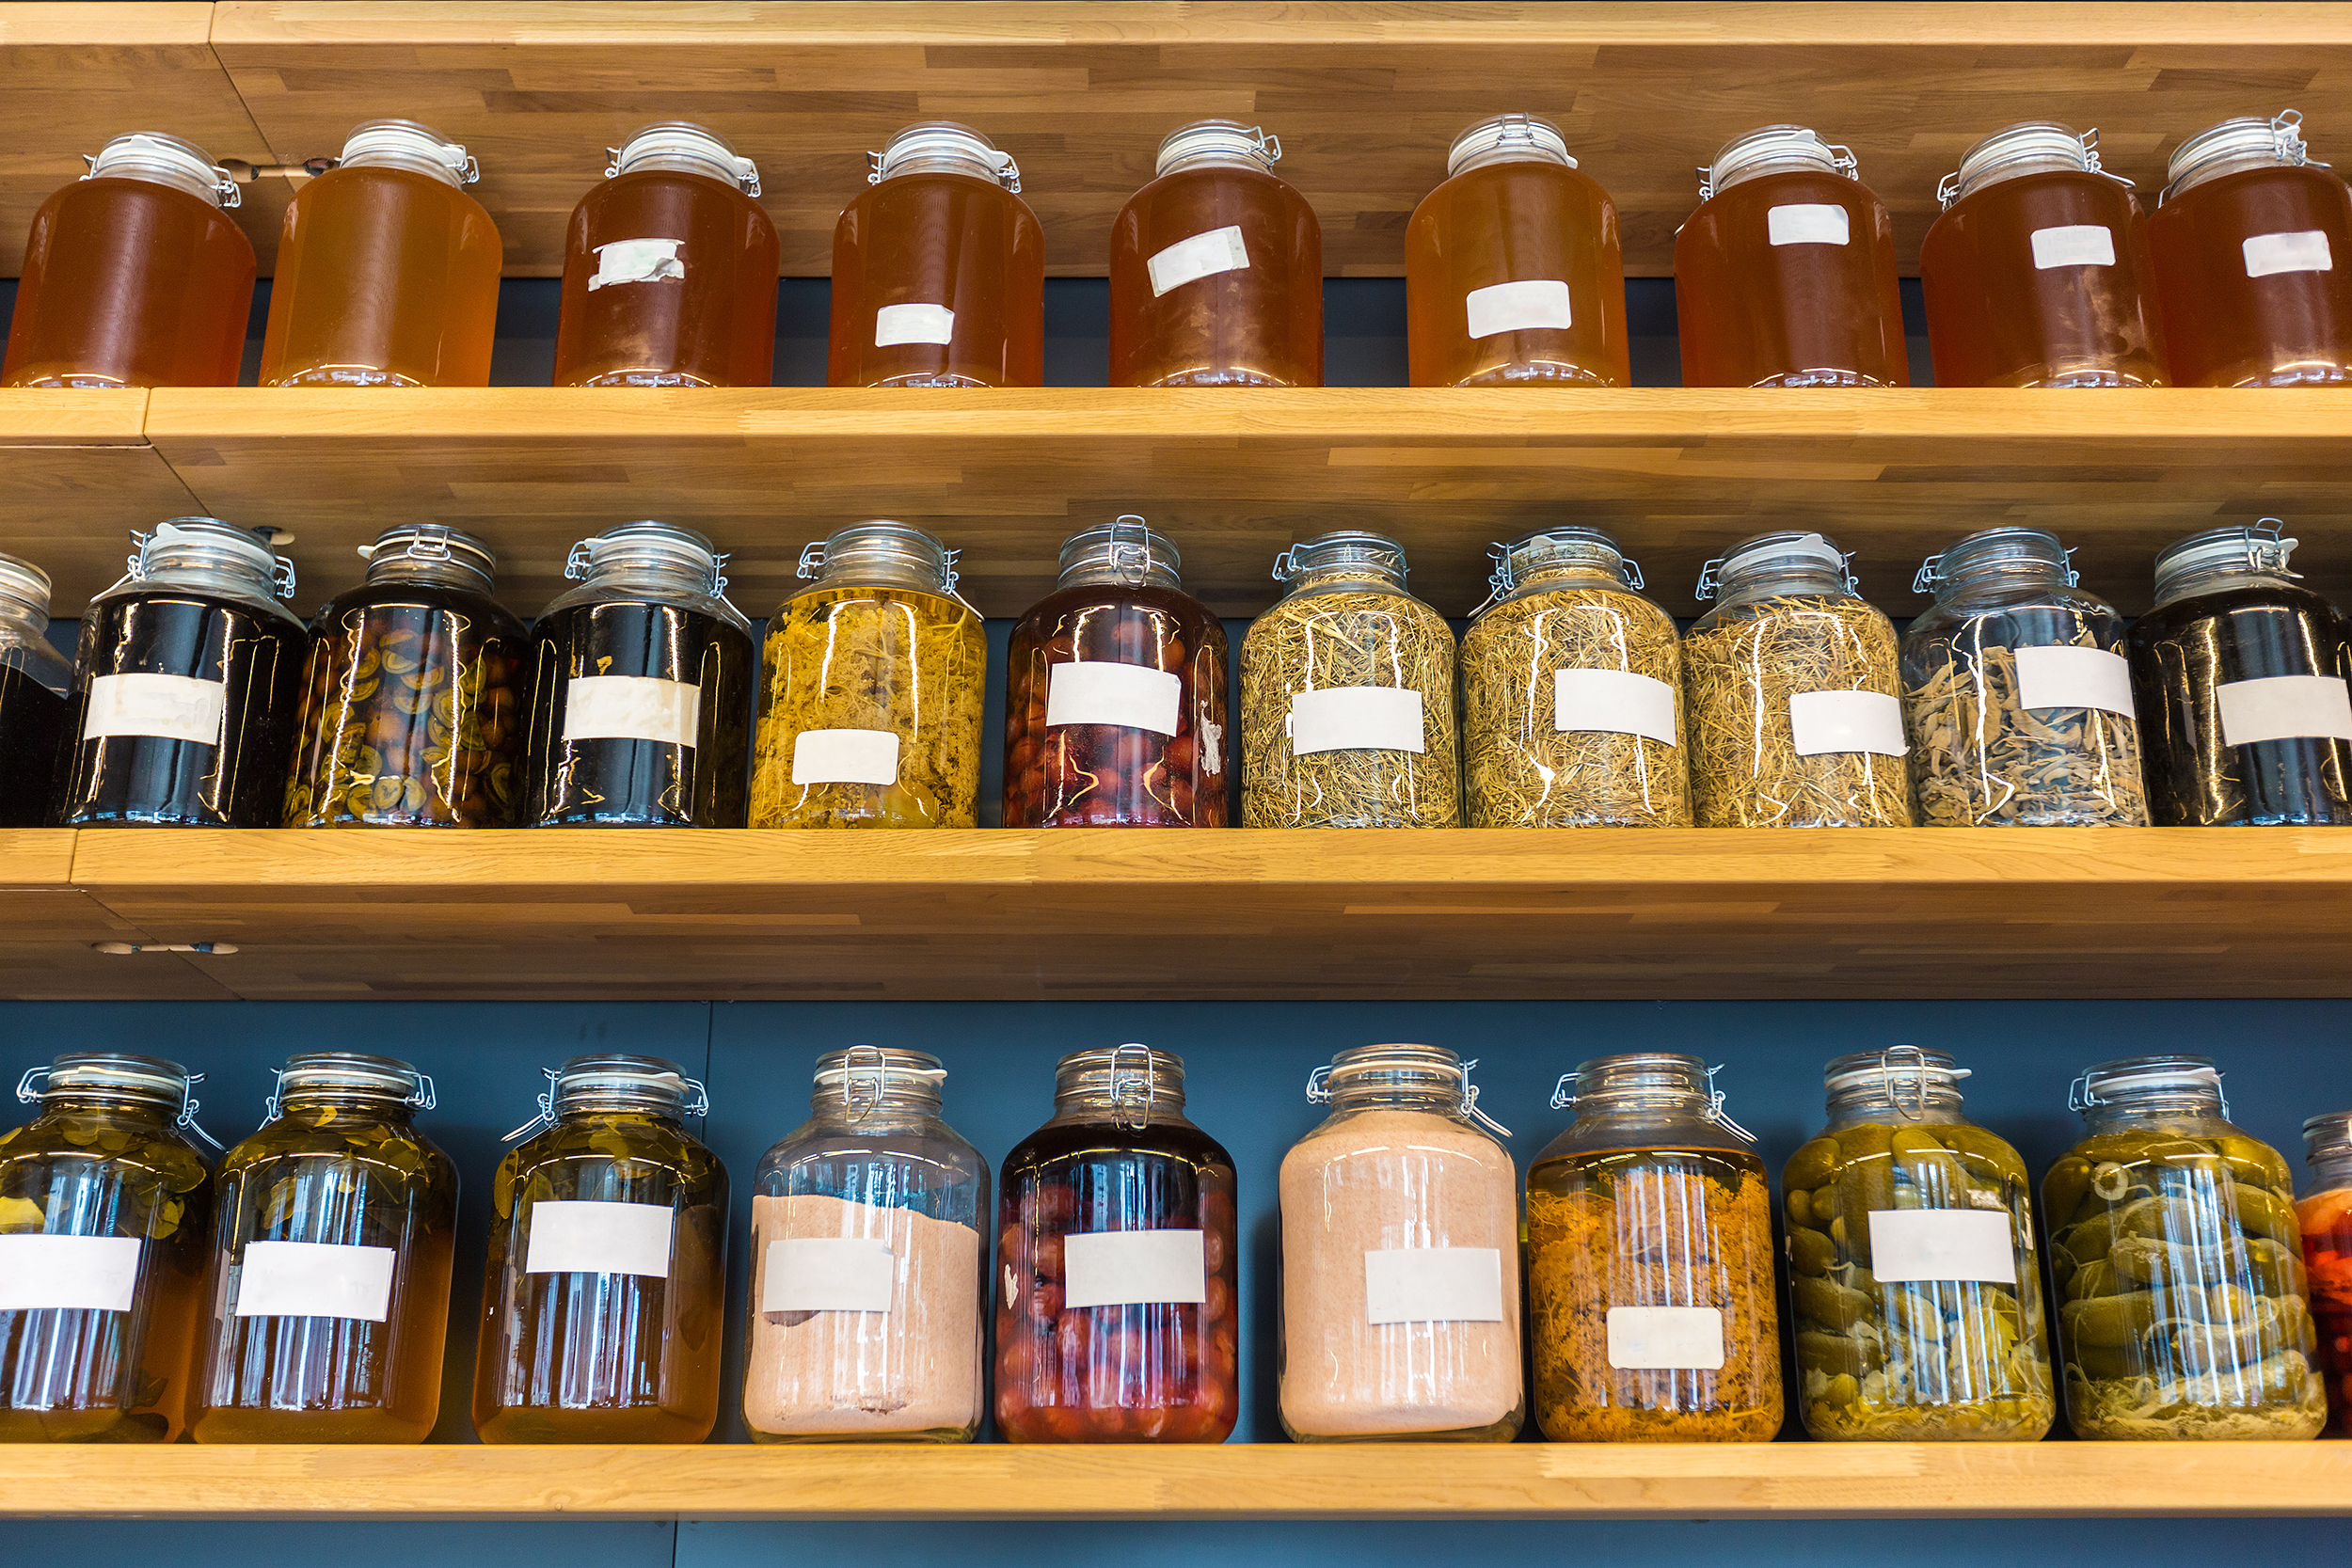
Canning preserves food in sealed jars by heating them to destroy microorganisms and create a vacuum seal. The USDA approves only two methods for home canning: boiling water bath canning and pressure canning. Which one you use depends entirely on what you’re preserving.
A boiling water bath is exactly what it sounds like. You submerge filled jars completely in boiling water and process them for a specific amount of time. Because boiling water only reaches 212 degrees Fahrenheit at sea level, this method is safe only for foods that are naturally high in acid or have enough added acid to prevent dangerous bacteria from growing.
That makes water bath canning a good fit for jams, jellies, fruit preserves, pickles, chutneys, fruit butters and many tomato products that have the proper amount of bottled lemon juice or citric acid added according to a tested recipe.
Pressure canning works differently. A sealed canner traps steam, and the temperature climbs well above the boiling point of water to about 240 degrees Fahrenheit. That higher temperature is necessary to destroy Clostridium botulinum spores, which can survive ordinary boiling and produce the toxin that causes botulism.
Because of that, you must pressure can low-acid foods such as green beans, corn, carrots, potatoes, meats, poultry, seafood and soups. A boiling water bath isn’t safe for these foods, no matter how long you boil the jars.
For most beginners, water bath canning is the easiest place to start. The equipment costs less, the process is simpler and recipes like strawberry jam or dill pickles are forgiving enough to build confidence. Many people who enjoy preserving fruit eventually buy a pressure canner once they want to put up vegetables or homemade stock.
Pressure canning doesn’t need to be intimidating, either. Modern pressure canners include multiple built-in safety features and are far different from the exploding canners in the old stories many people heard decades ago. Like any kitchen tool, they’re safe when used according to the manufacturer’s directions and with tested recipes.
Whichever method you choose, one rule never changes: always use recipes that have been scientifically tested. Family recipes may taste wonderful fresh, but they aren’t always safe for canning. Changing ingredient amounts, thickening soups with flour, adding extra vegetables or reducing vinegar can all affect the safety of the finished product. The USDA and the National Center for Home Food Preservation remain the gold standards for home canning recipes and processing recommendations.
Today’s recommendations may also differ from the ones your grandparents followed. Research has improved over the years, and food safety guidance has changed with it. Methods like open-kettle canning, oven canning and sealing jars by turning them upside down are no longer considered safe for shelf-stable foods.
If you’ve never canned before, you don’t have to preserve an entire garden your first weekend. Start with one recipe. Learn how to prepare the jars, measure headspace, remove air bubbles and process them correctly. Once you hear that satisfying “ping” as the lids seal, you’ll understand why so many people find canning rewarding.
Opening a jar of peaches in January or serving homemade salsa long after the tomatoes are gone is a special kind of reward. With a little knowledge, the right equipment and a commitment to tested recipes, anyone can preserve the harvest safely for months to come.
By Bryce Angell
My eyes are glued up to the shelf, a brand-new pair of Mucks. They’d be in my possession, but I lack the certain bucks.
I could go without my Pepsi for a month or maybe two. But the headache would be pounding like a freight train passin’ through.
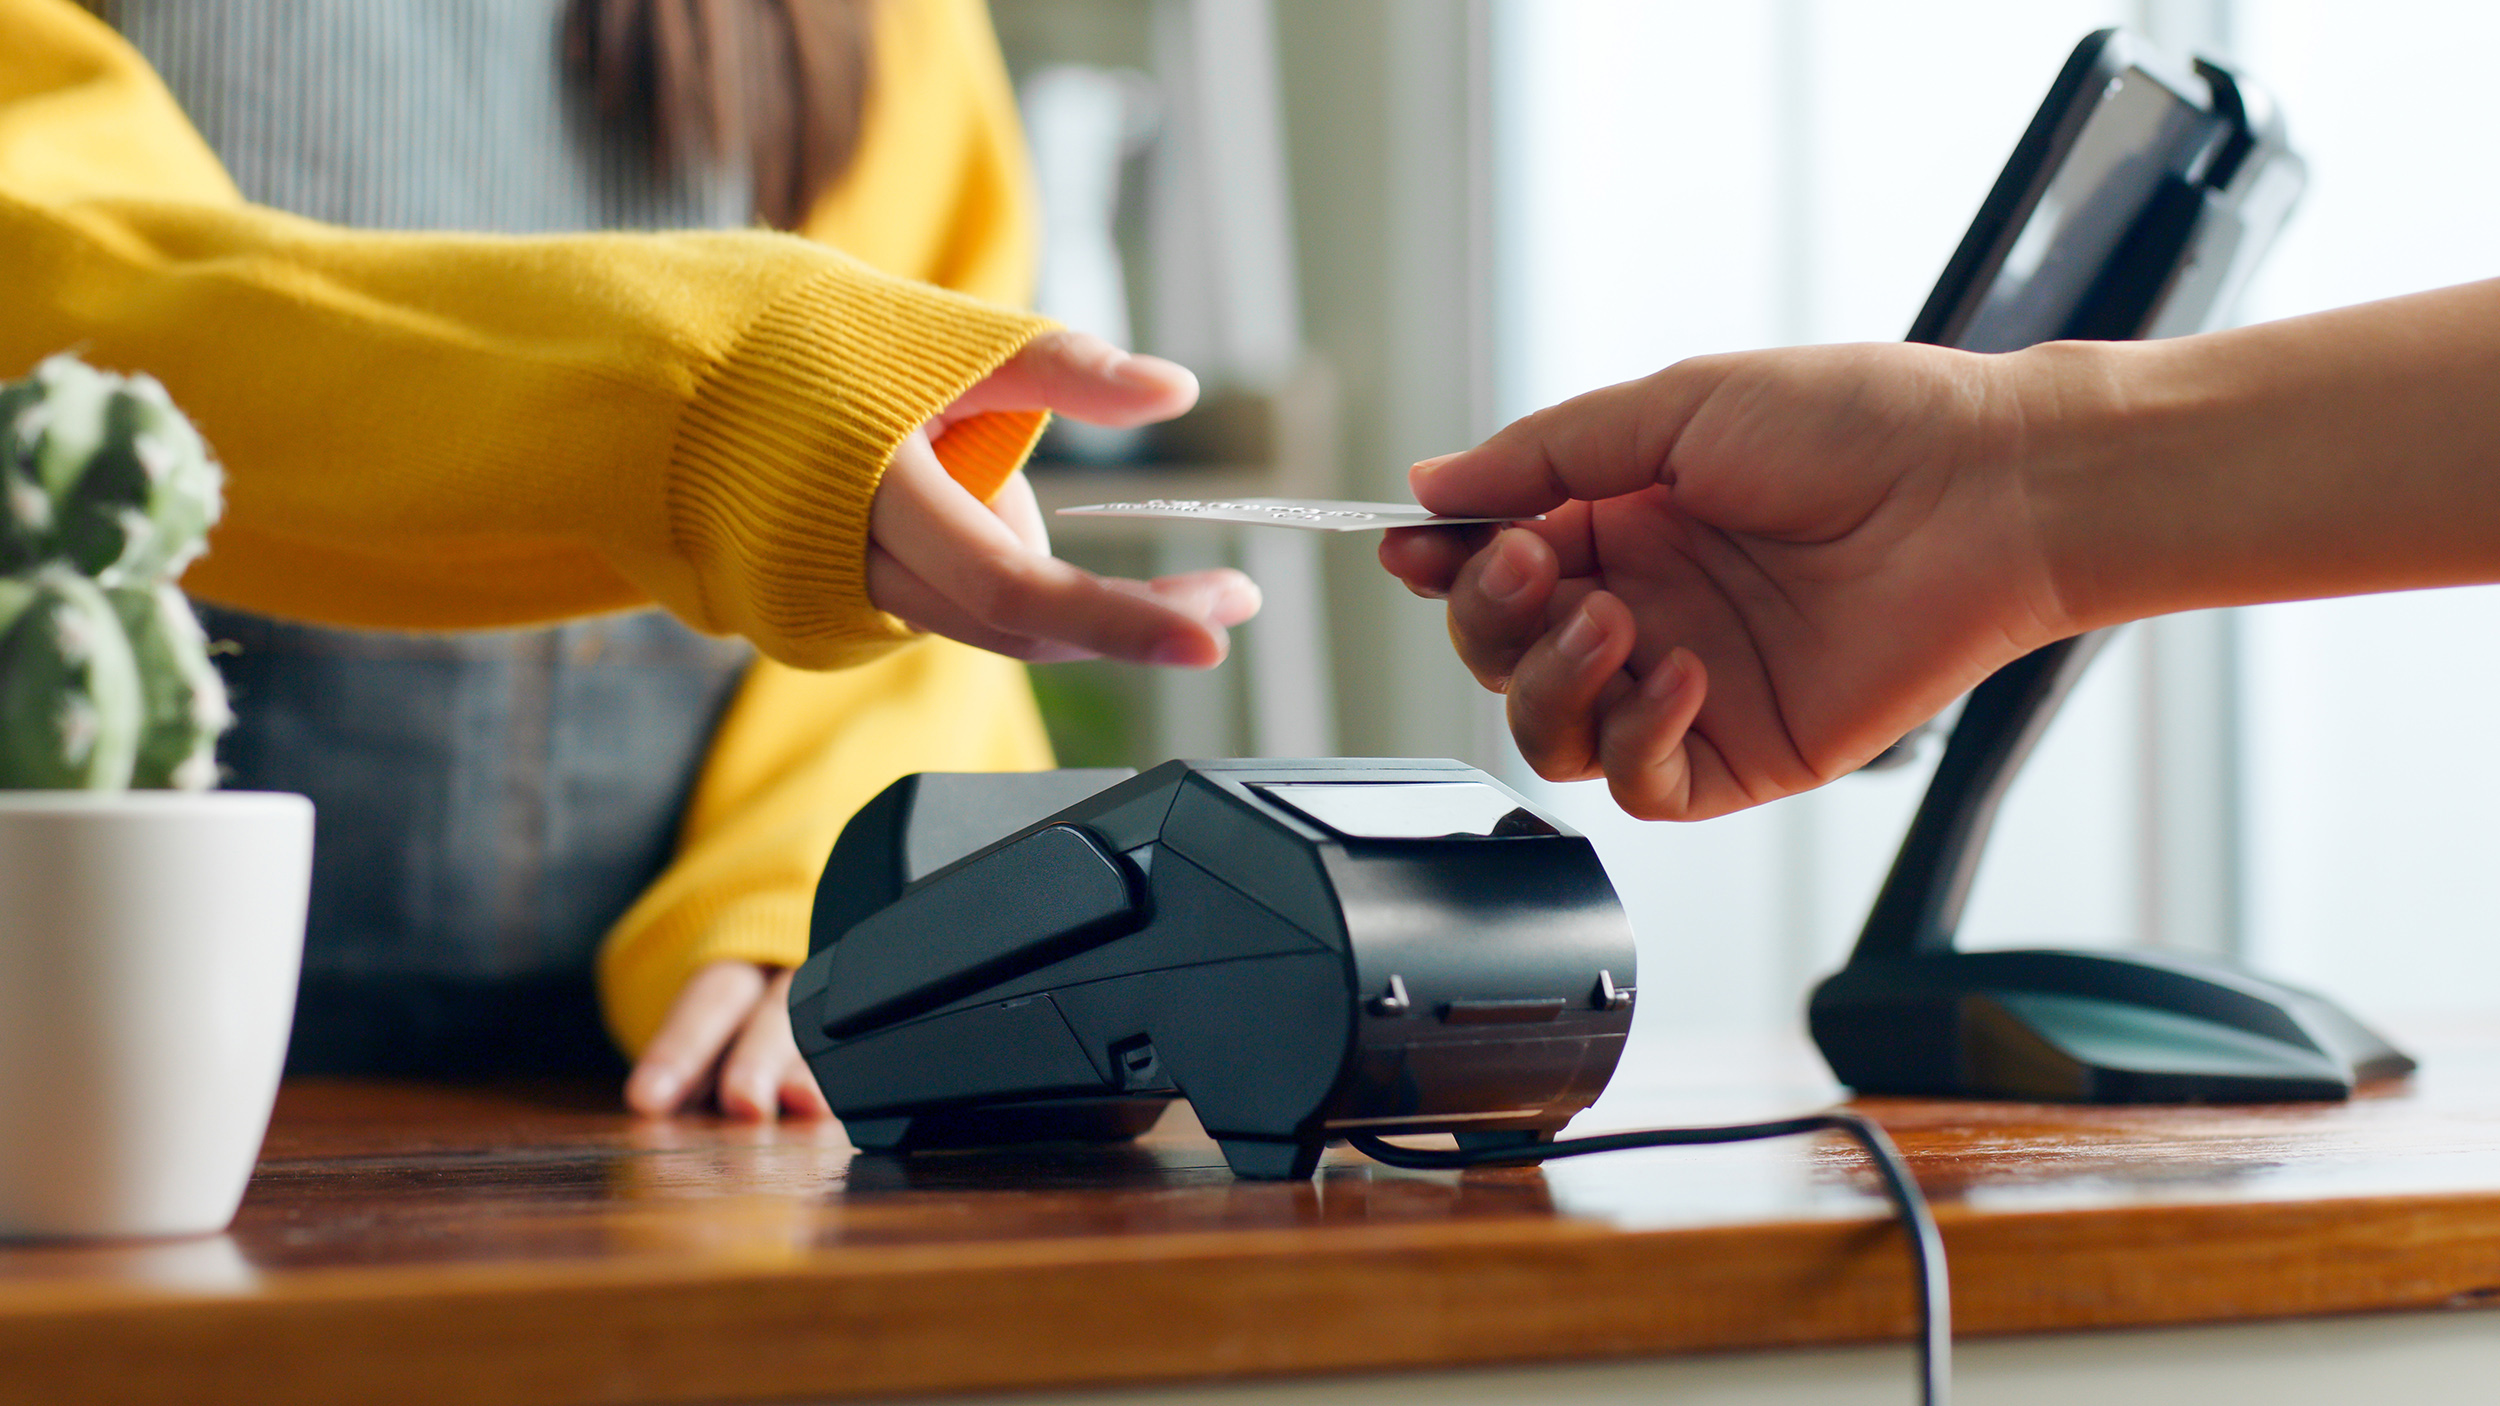
I’ve got my Visa plastic for emergencies and such. The boots are kinda spendy. Do I really care that much?
I grab my precious cargo and I’m tingling to my roots. The clerk says, “Hundred eighty.” Must be gold in them there boots!
To purchase I can justify. It’s more than just a treat. No more sittin’ in the saddle with my cold and frozen feet.
I’ve waited days to wear them. Time to saddle up Ol’ Blue.
But my boots won’t fit the stirrups. What’s a broke cowboy to do?
The boots ain’t never goin’ back. I burned the dang receipt. My wife will never know the cost. Is that what’s called deceit?
The Co-Op might be open. I’ve seen stirrups there to buy. They close at 6:00 p.m. It’s 6:05 p.m. No use to even try.
I’ll drive out to the shoppin’ mall. They’ve got a western store. But their prices are extravagant, not for the country poor.
I’m riflin’ through the stirrups. Find a pair that fits my Mucks. I take ’em to the clerk. She says, “Two hundred twenty bucks.”
This time I cough and choke on down my Wrigley’s Spearmint chew. The clerk said, “Sure they’re spendy, but they’re made for guys like you.”
I wonder what she meant ’cuz I ain’t got the cash to spare. I swear she meant hi-rollers with their nose up in the air.
Still, I bought the brand-new stirrups with my plastic, once again.
Does it hurt to use my Visa card, every now and then?
The smuggish patrons, back in line, are giving me the stare.
They’re prob’ly thinkin’, “Poor cowboy.” I hurry out of there!
I’m addin’ up my purchases. Looks like four hundred bucks. And with the Gov’ner’s share I’m in the class of stupid clucks.
I burned the Visa card receipt, so that should take care of it from where I stand. I’m wonderin’ now if my warm feet are worth the half a grand?
By NTFR Staff
If you’ve spent any time on social media this summer, you’ve probably seen the debate. Some gardeners insist you should water only before sunrise. Others swear by evening watering. A few even claim watering during the heat of the day will burn your plants.
With temperatures climbing into the 90s and often higher in Oklahoma and North Texas, it’s easy to second-guess yourself when your tomato plants start drooping by lunchtime. Timing matters, but it’s only one part of keeping a garden healthy, and how you water can make a bigger difference than when.
For most gardens, early morning is the best time to water. Between about 5 and 9 a.m., temperatures are cooler, winds are usually lighter and less water evaporates. Plants have time to absorb moisture before the hottest part of the day, which helps them handle the afternoon heat. Any water that splashes onto the leaves also has time to dry, which reduces the chance of fungal diseases.
Not everyone has time to water before work or before the sun comes up. If evening is the only time that fits your schedule, don’t worry. A garden that gets a thorough watering in the evening is far better off than one left dry while you wait for the “perfect” time.
If you water late in the day, aim the water at the soil instead of spraying the foliage. Leaves that stay wet overnight can encourage certain plant diseases, especially when humidity is high.
Midday watering is fine, too, despite a long-standing gardening myth. Water droplets generally do not act like tiny magnifying glasses that scorch leaves, and research shows it isn’t a significant concern in home gardens. The drawback is efficiency. During the hottest part of the day, more water evaporates before it reaches the root zone. Still, if a plant is badly wilted and the soil is dry, don’t wait until evening. Watering right away beats letting the plant keep suffering from heat and drought stress.
Many gardeners make the mistake of watering on a schedule instead of checking the soil. Plants can wilt temporarily in extreme afternoon heat even when they have plenty of moisture underground.
Before reaching for the hose, push your finger a couple of inches into the soil. If it still feels cool and moist, your plants probably don’t need water yet. If it’s dry, give them a drink.
How you water matters as much as when. A slow, deep soaking encourages roots to grow farther into the soil, where moisture lasts longer. Frequent light watering keeps roots near the surface, which leaves plants more vulnerable in hot weather.
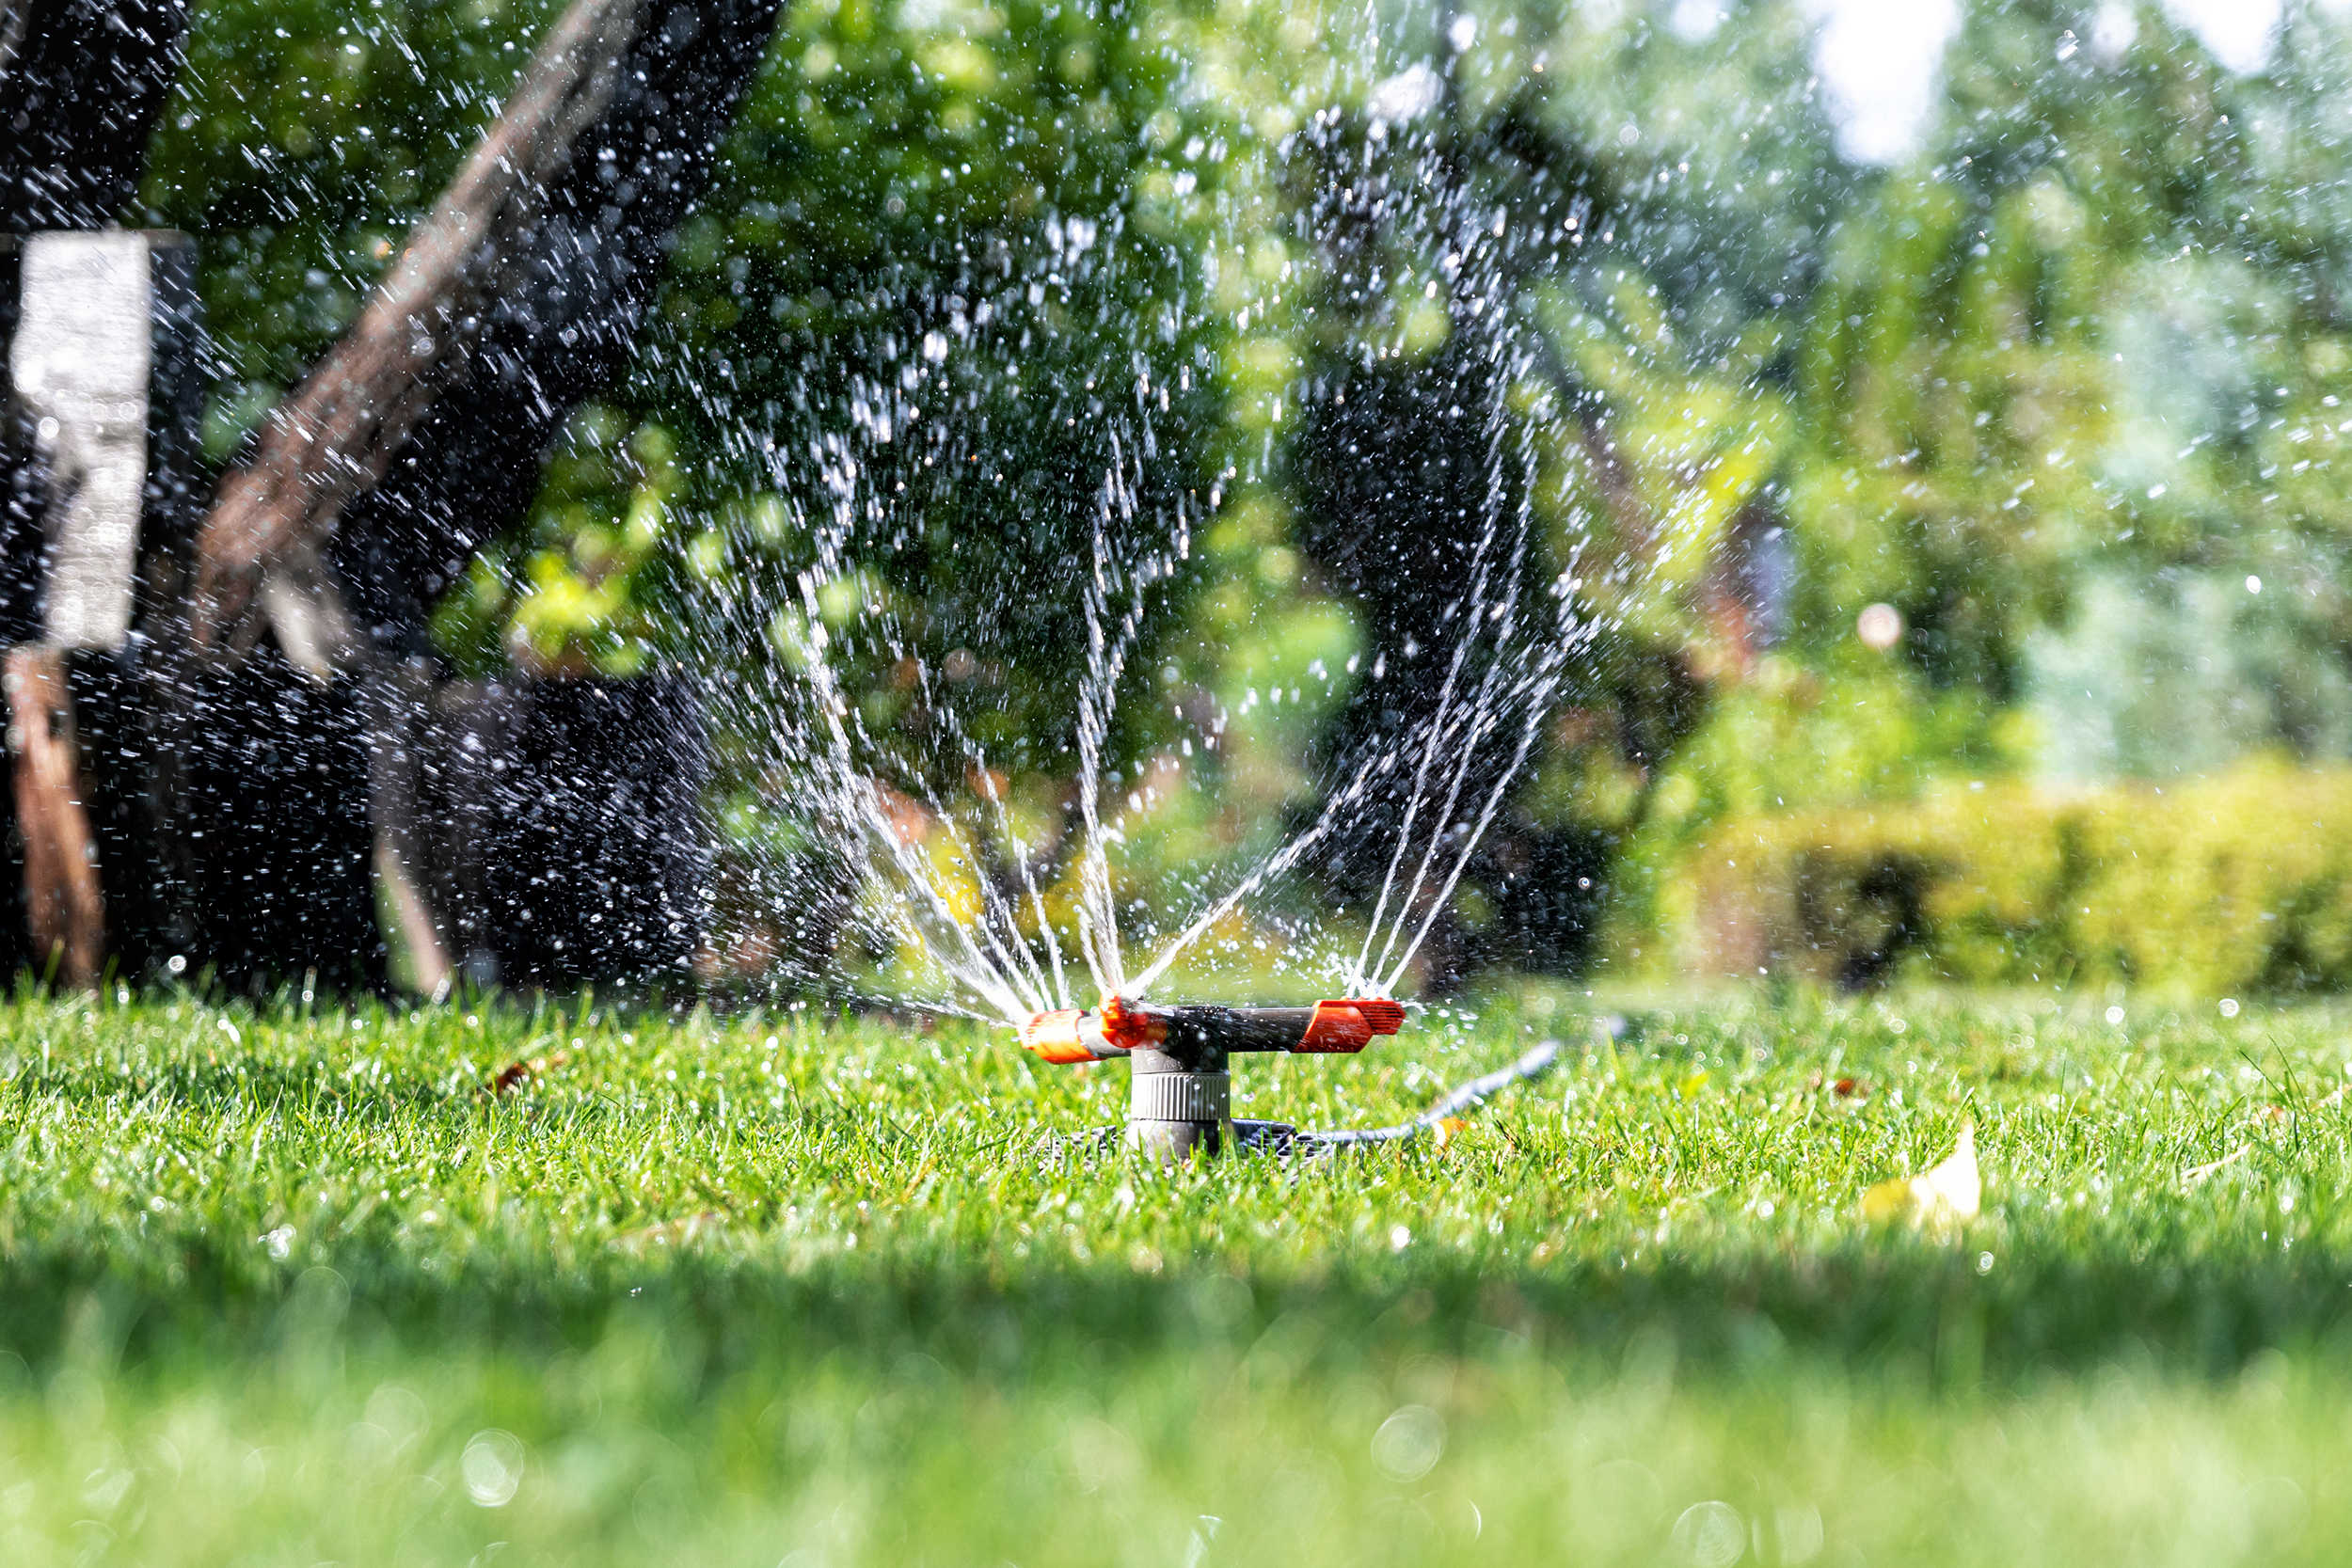
Soaker hoses and drip irrigation systems are excellent choices because they deliver water straight to the roots and lose very little to evaporation.
Mulch can become one of your best summer gardening tools. A two- to three-inch layer of shredded leaves, straw, untreated grass clippings or wood mulch keeps the soil cooler, slows evaporation and cuts down on weeds that compete for moisture. In many gardens, mulch can noticeably reduce how often you need to water.
Every garden is a little different. Soil type, plant varieties, sunlight, wind and rainfall all affect how fast moisture disappears. Sandy soils dry out faster than heavy clay, and containers often need water much more often than plants growing in the ground.
Pay attention to your garden instead of following a strict calendar. Check the soil regularly, water deeply when needed and don’t panic if your vegetables look a little tired during the hottest part of the afternoon. Many will perk right back up once temperatures fall.
Consistency matters more than perfection. Whether you water before sunrise or after supper, giving your plants the moisture they need and delivering it deep to the roots will help your garden stay healthier through the toughest days of summer.





-
 Country Lifestyle2 years ago
July 2017 Profile: J.W. Hart
-
 Farm & Ranch2 years ago
From Plow to Plentiful: The Most Important Inventions in Agricultural History
-
 Attractions9 years ago
48 Hours in Atoka Remembered
-
 Equine9 years ago
Umbilical Hernia
-
 Country Lifestyle5 years ago
The Two Sides of Colten Jesse
-
 Outdoors9 years ago
Grazing Oklahoma: Honey Locust
-
 Farm & Ranch8 years ago
Hackberry (Celtis spp.)
-
 Attractions2 months ago
Oklahoma Ghost Towns – Navajoe