Country Lifestyle
FAPC offers food safety tips for your Thanksgiving menu

By Mandy Gross, FAPC Communications Services Manager
(Stillwater, Okla. – Nov. 7, 2017) Thanksgiving Day is quickly approaching, and many Oklahomans will be preparing holiday meals for their families and friends. But don’t let food poisoning be on the menu this year.
“Every year in the United States, approximately 48 million people get sick because of some form of foodborne illnesses,” said Ravi Jadeja, food safety specialist for Oklahoma State University’s Robert M. Kerr Food & Agricultural Products Center. “Of those, 128,000 are hospitalized or need medical attention and, unfortunately, 3,000 people die every year.”
FAPC offers the following tips to keep your family safe this festive season.
Food handling
- Buy only government-inspected meat and poultry products, and check the “sell-by” date on all food purchases. Never buy products if the expiration dated has passed.
- Wash your hands thoroughly before and after preparing any food product.
- Use two cutting boards: one for preparing raw meat, poultry and fish, and the other for cutting cooked food or preparing salads.
Food preparation
- Never thaw the turkey on the counter. Thawing at room temperature increases the risk of bacteria growth at the surface of the meat even though the interior may still be chilled.
- Thaw the turkey in its original wrap on a tray placed in the bottom section of the refrigerator. Allow approximately 24 hours of defrost time for every five pounds of turkey.
- Thawing the turkey in cold water is safe. Submerge the bird in its wrapper in a deep sink of cold water and change the water every 30 minutes to keep it cold. Allow 30 minutes per pound to defrost a turkey in cold water.
Stuffing the turkey
- Do not stuff the turkey in advance. The chilled stuffing in the turkey will not reach a safe temperature before the turkey is done.
- Remove the giblet bag from inside the turkey before stuffing.
- Stuffing must be cooked to a minimum temperature of 165 degrees Fahrenheit.
- Precook the stuffing, so it will reach the optimum temperature before the turkey is overcooked.
- Stuff the turkey lightly because the stuffing will expand as it is cooked in the turkey. If it is too tightly packed, it will not reach a safe temperature by the time the turkey is done. Do not use more than 1/2 or 3/4 cups stuffing per pound of turkey. If you are cooking a 16-pound turkey, use no more than 8 to 12 cups of stuffing.
- An alternative is to cook stuffing in a pan to ensure the interior of the turkey is safe.
Cooking the turkey
- Use a meat thermometer to determine when the turkey is done.
- Insert the thermometer in the thickest part of the turkey thigh. Be aware dark meat takes longer to cook than any other part.
- The turkey is done when the thermometer reaches 165 degrees Fahrenheit.
- Basting the turkey while it is cooking is not necessary. Basting tools could be sources of bacteria contamination if dipped into uncooked or undercooked poultry juices and then allowed to sit at room temperature for later basting.
- Do not cook a turkey overnight in an oven set at a low temperature. Cooking a turkey at a temperature below 325 degrees Fahrenheit allows harmful bacteria to multiply.
- Once the turkey is done, remove the stuffing immediately.
- If you purchase a fully cooked turkey, pick it up hot and bring it home to eat immediately.
Storing leftovers
- After the meal remove all meat from the turkey carcass. This should be done within two hours of the turkey’s removal from the oven.
- Leftovers should be stored in the refrigerator within two hours after cooking is complete.
- Leftovers should be divided into smaller portions and stored in several shallow containers. They should be eaten within three to four days.
- If large amounts are left, consider freezing for later use. Do not wait until the leftovers have been in the refrigerator for several days to freeze. Frozen leftovers should be eaten within six months.
Eating leftovers
- Reheat leftovers to 165 degrees Fahrenheit throughout or until steaming hot. Soups, sauces and gravies should be brought to a rolling boil for at least one minute.
- Never taste leftover food that looks or smells strange. When in doubt, throw it out.
For more information about Thanksgiving food safety tips, visit https://youtu.be/dF0U6xQ8NPM.
FAPC, a part of OSU’s Division of Agricultural Sciences and Natural Resources, helps to discover, develop, and deliver technical and business information that will stimulate and support the growth of value-added food and agricultural products and processing in Oklahoma.
-###-
Total Time: 1 hour and 40 minutes
Servings: 10
2 medium apples (any type), peeled, cored & diced
1/3 cup brown sugar
1 tsp cinnamon
1/2 cup unsalted butter, softened
2/3 cup granulated sugar
2 large eggs
1 1/2 tsp vanilla extract
1 1/2 cups all-purpose flour
1 3/4 tsp baking powder
1/2 cup milk
For the Glaze:
- 1/2 cup (60g) powdered sugar
1–2 tbsp milk
1/4 tsp vanilla extract
Instructions:
Preheat oven to 350°F. Grease and line a 9×5-inch loaf pan with parchment paper.
Peel and chop apples and place in a bowl with brown sugar and cinnamon. Toss and set aside.
In a large mixing bowl, cream together butter and granulated sugar until light and fluffy. Beat in eggs one at a time, then add vanilla. In a separate bowl, whisk together flour and baking powder. Gradually add dry ingredients to the butter mixture, alternating with milk, mixing until just combined.
Next, pour half of the batter into the loaf pan, top with half of the apple mixture, then repeat with remaining batter and apples. Lightly swirl with a knife for a marbled effect.
Bake for 50–55 minutes, or until a toothpick inserted in the center comes out clean.
Cool in pan for 10 minutes, then transfer to a wire rack to cool completely.
In a small bowl, whisk together powdered sugar, milk, and vanilla until smooth. Drizzle over cooled bread.
Slice and enjoy warm or at room temperature.
By Savannah Magoteaux
It may seem old-fashioned in today’s world of instant weather apps and precision farming tools, but for generations, farmers and ranchers have kept something tucked alongside their feed store receipts and fencing pliers: the almanac.
If you’ve ever wondered what makes an almanac different from a regular calendar—or how you can actually use one on the farm today—you’re not alone. The truth is, there’s a reason the almanac has stuck around for more than two centuries. It’s part tradition, part practical guide, and part good old country common sense.
What Exactly Is an Almanac?
At its simplest, an almanac is an annual publication that contains a wide variety of information:
- Weather forecasts (both short-term and long-range)
- Moon phases and sunrise/sunset times
- Best days for planting, harvesting, and other chores
- Tide tables
- Astronomical data (eclipses, meteor showers)
- Farming advice
- Home and garden tips
- Folk wisdom and humor
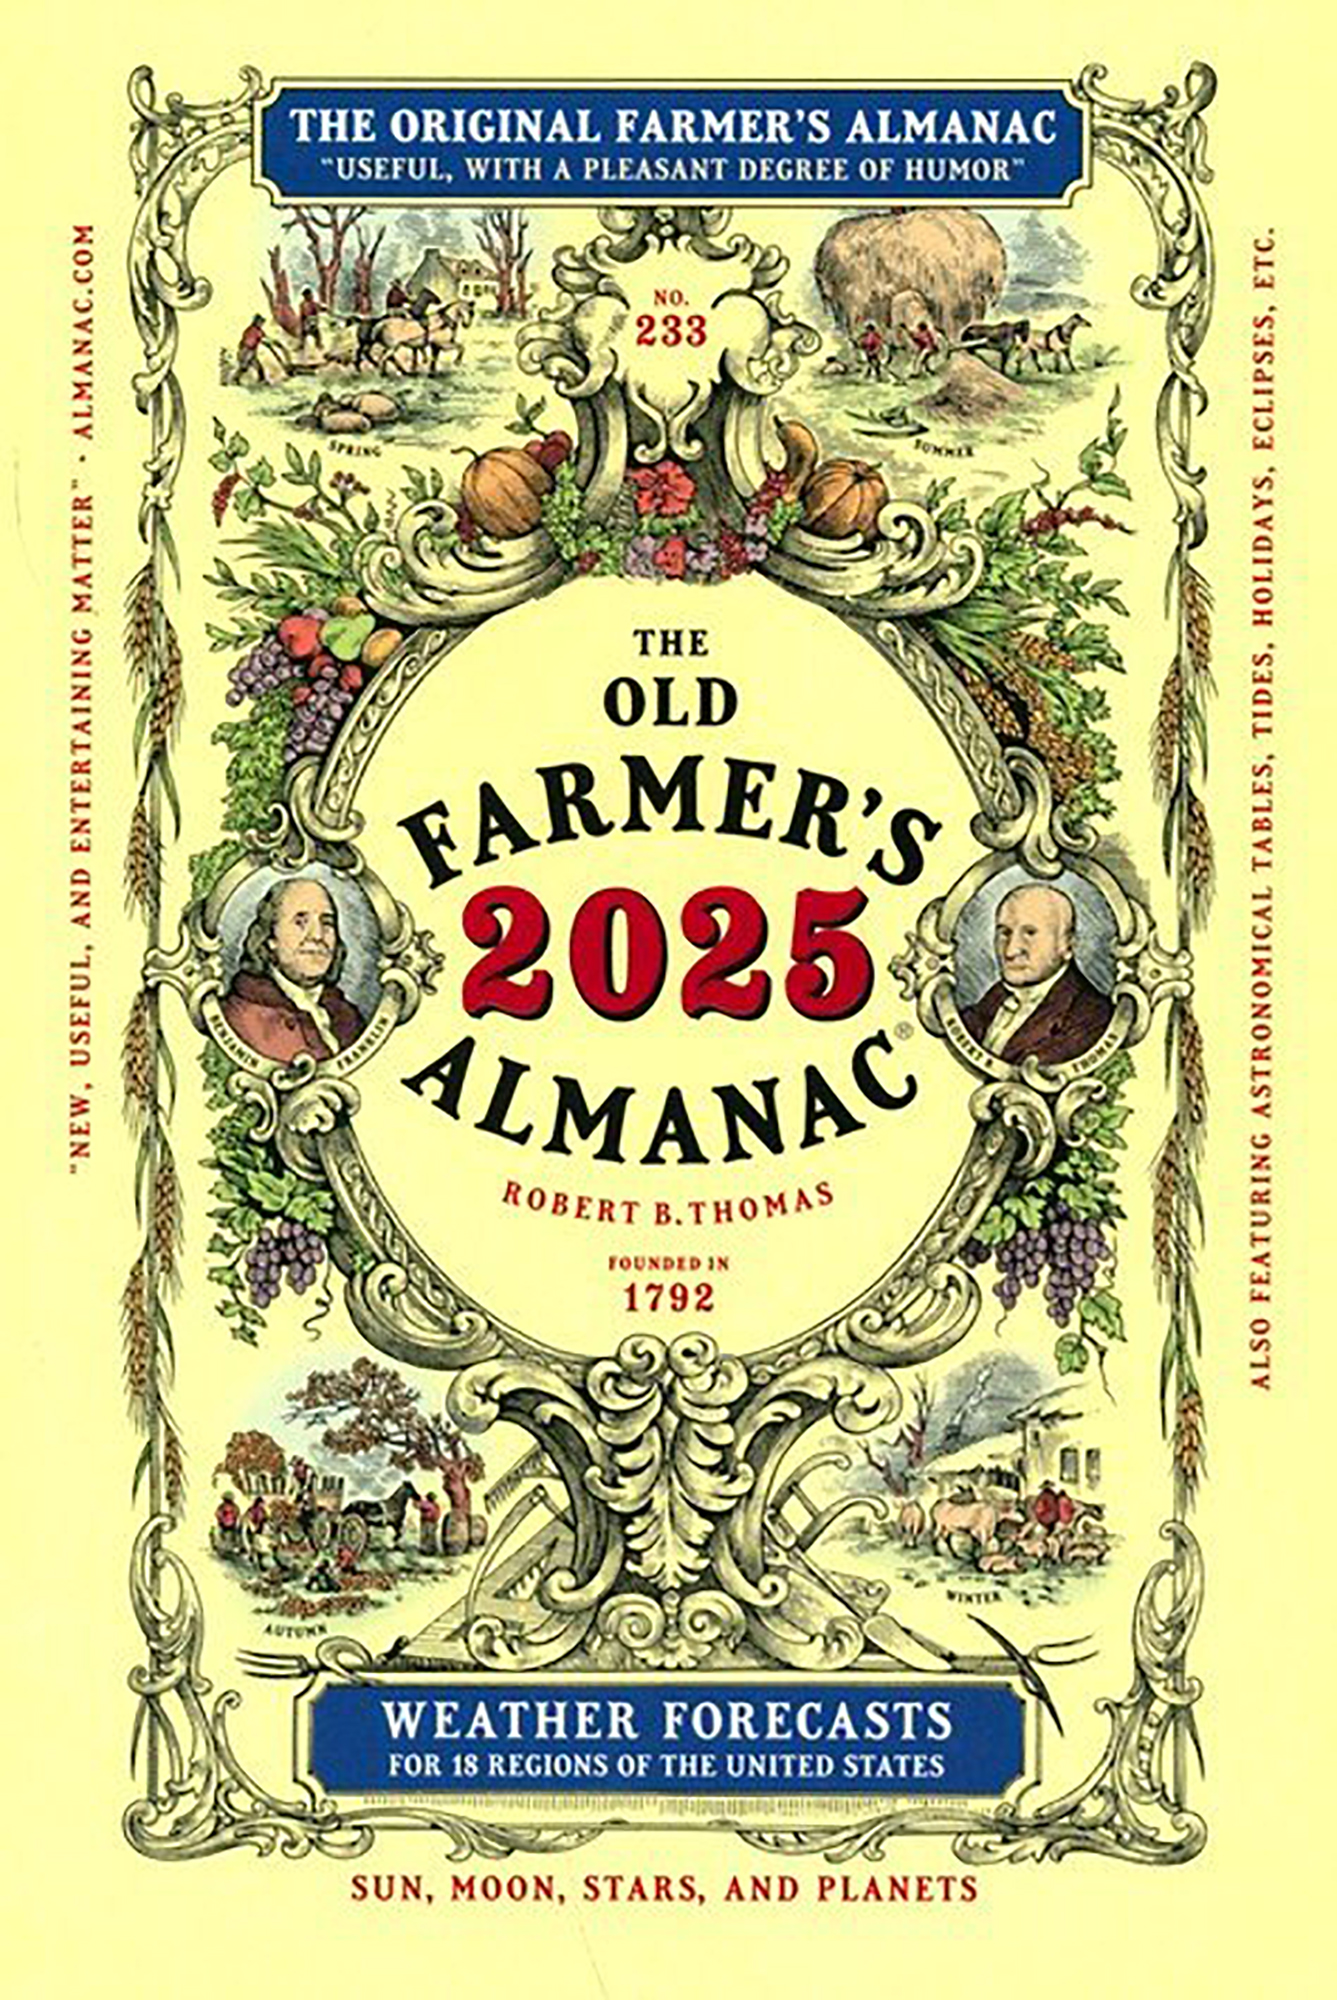
The Old Farmer’s Almanac, founded in 1792, is probably the most famous, but there are many versions today—including regional editions designed for specific areas of the country.
What sets an almanac apart is that it doesn’t just tell you what is happening; it often tells you when and how to do things based on seasonal rhythms, tradition, and long-standing patterns of nature.
How Are Almanac Predictions Made?
One of the most famous parts of the almanac is its weather forecast section.
While the exact methods are often kept secret, most almanacs combine:
- Historical weather patterns
- Solar cycles (like sunspots)
- Lunar phases
- Meteorological data
They aren’t as precise as modern radar forecasts, but they’re designed to give a general idea of what to expect for an upcoming season. Many readers use them more for planning and tradition than strict prediction.
Interestingly, some almanacs claim accuracy rates of around 80%, though independent studies suggest they’re closer to 50–60%. Still, for long-range planning—like when to schedule planting, hay cutting, or even branding days—many farmers find them helpful.
How to Use an Almanac Today
If you flip open an almanac today, you’ll find it offers much more than weather. Here are a few practical ways to use one on your farm or ranch:
- Planting by the Moon: Many people still plant certain crops according to the waxing and waning of the moon, believing that different phases influence root growth, fruit production, or hardiness.
- Scheduling Hay or Harvest: Long-range dry or wet forecasts can help you pick safer windows for cutting and baling hay.
- Livestock Planning: Some ranchers time breeding, calving, or vaccinations according to signs in the almanac (or at least avoid unlucky dates!).
- Gardening Tips: Almanacs are packed with advice on companion planting, pest control, and organic practices.
- Household Projects: Need to set fence posts or pour concrete? Some almanacs recommend the best days for setting things in the ground to “set stronger.”
Even if you don’t follow it to the letter, it can still offer a broader way of thinking seasonally—something that technology sometimes encourages us to forget.
Tradition Meets Technology
Many almanacs now have companion websites and apps, offering digital versions of their classic wisdom.
Still, there’s something satisfying about flipping through a paperback almanac, circling dates, and marking notes in the margins just like the generations before us.
It’s a reminder that even in a high-tech world, farming and ranching are still closely tied to the rhythms of nature—and a little old-school wisdom never hurts.
References:
- The Old Farmer’s Almanac – https://www.almanac.com
- Farmers’ Almanac – https://www.farmersalmanac.com
- University of Illinois Extension – Understanding the Farmer’s Almanac Weather Predictions
- National Weather Service – Historical Weather Patterns
SIDEBAR_
5 Fun Facts About the Almanac
1. It’s Older Than the U.S. Constitution.
The Old Farmer’s Almanac was first published in 1792—one year after George Washington was elected President.
2. There’s a “Secret Formula” for Weather Predictions.
The Old Farmer’s Almanac claims it uses a top-secret mathematical formula, created by its founder Robert B. Thomas, that factors in sunspots, tidal action, and planetary positions.
3. It’s Not Just One Almanac.
There are actually several famous almanacs, including the Old Farmer’s Almanac and the Farmers’ Almanac, and they’re produced by different companies with slightly different forecasting methods.
4. Moon Phases Matter.
Many planting and farming guides in the almanac are based on the waxing and waning of the moon. According to tradition, above-ground crops do better when planted during a waxing moon, and root crops thrive during a waning moon.
5. It Once Had a Hole in the Corner.
Early editions of the almanac were printed with a hole punched through the corner. Why? So farmers could hang them on a nail in the barn or outhouse for easy reading (and sometimes, as a backup to toilet paper)!
Daylight in the country is busy. There are engines, gates, dogs, birds, wind, and people moving with purpose. Even when it feels quiet, there is usually something making noise. It is familiar noise, the kind you stop noticing because it belongs there.
Night is different.
When the sun drops and the work winds down, the sounds change. Some disappear entirely. Others step forward like they were waiting their turn. It is only then that you realize how much the land talks after dark.
The first thing most people notice is how far sound carries at night. Voices travel farther. A truck door slams a half mile away and still feels close. Coyotes sound like they are just beyond the fence, even when they are scattered across an entire section.
There are reasons for that. Cooler nighttime air is denser, allowing sound waves to move more efficiently. During the day, sunlight heats the ground unevenly, creating air layers that bend and scatter sound. At night, temperatures even out, and sound travels straighter and farther. The land does not get louder. You just hear more of it.
Coyotes are often the headliners. Their howls, yips, and barks are not random noise. They are communication. A single howl can be a location check. Group yipping can signal territory or reunite scattered pack members. What sounds like chaos is often a coordinated conversation that carries for miles.
Owls tend to follow. Great horned owls announce themselves with deep, rhythmic calls that sound older than fences and roads. Barred owls ask their unmistakable questions from creek bottoms and timber. These calls serve the same basic purpose as the coyotes’. Territory, presence, and pair bonding, all broadcast into the dark.
Insects fill the gaps. Crickets and katydids create a steady background hum that changes with temperature and season. In late summer, their calls are loud enough to drown out distant traffic. In early fall, the rhythm slows. By winter, silence settles in where that sound once lived.
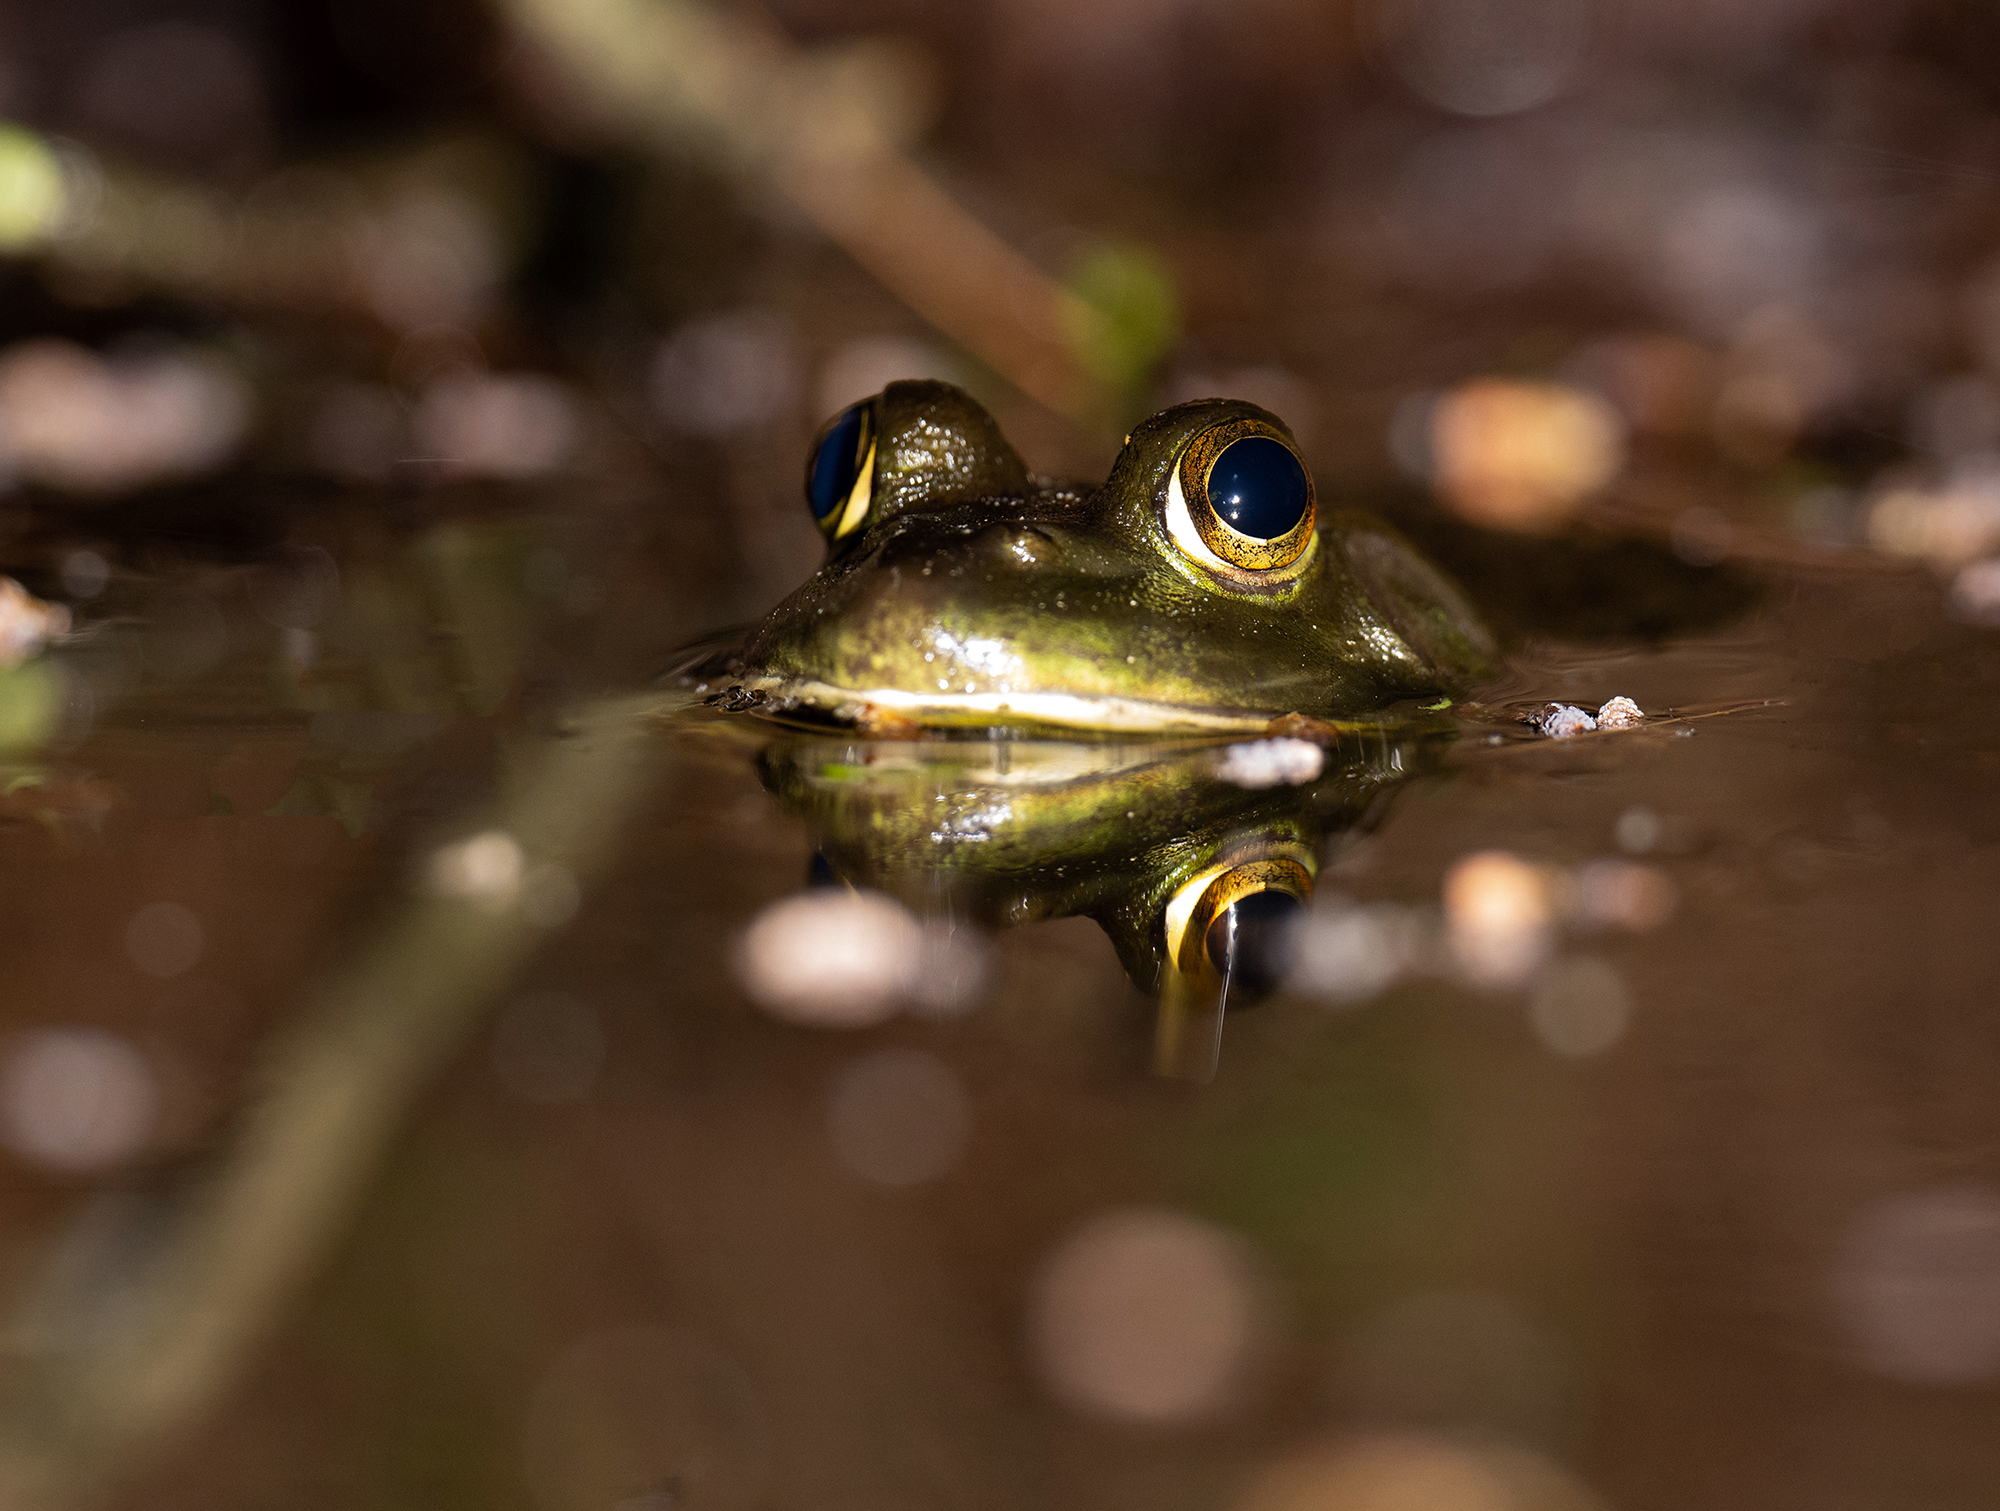
Frogs take over after rain. Stock tanks, ditches, and low spots become stages. Each species has its own call, its own timing, its own volume. To someone unfamiliar with rural nights, it can sound overwhelming. To those who live with it, it becomes reassurance that water is present and life is moving.
Livestock contribute their own nighttime sounds. A cow bawling for a calf. Horses shifting and blowing softly in the dark. The occasional thump of hooves when something unseen moves through the pasture. These noises are usually brief, but they catch your attention because they break the expected rhythm.
Some sounds are seasonal. In the fall, migrating birds pass overhead, calling to one another in the dark as they navigate by stars and landmarks. In spring, night birds return, filling the air with calls that have been absent for months. The land sounds different when life is arriving versus when it is leaving.
What surprises many people is how much quieter the country can be without human interference. With fewer buildings, less traffic, and minimal artificial lighting, natural sounds are not masked the way they are in towns and cities. Even distant highways fade into the background, leaving space for subtler noises to emerge.
That quiet can feel uncomfortable at first. Silence magnifies small sounds. A branch snapping or leaves shifting can sound larger than it is. Over time, you learn what belongs and what does not. The land teaches you what is normal.
Nighttime sounds also slow you down. There is less pressure to move, to fix, to finish. Sitting on a porch or leaning against a fence, you start to listen instead of scanning. The dark removes visual distractions, leaving only sound to tell the story.
Those sounds carry information. Weather is changing. Animals are moving. Seasons are turning. Without realizing it, you begin to recognize patterns. You notice when the coyotes are quieter than usual, or when frogs call earlier than expected. The land speaks in small signals long before anything obvious happens.
Most of these sounds go unnoticed unless you stop and listen. They are not dramatic on their own. They do not demand attention. But together, they form the soundtrack of rural life after dark.
In a world that rarely slows down, nighttime in the country offers something increasingly rare. A chance to listen without interruption. To notice what has always been there. To understand that even when the lights are off and the work is done, the land never really rests.


-
 Country Lifestyle2 years ago
July 2017 Profile: J.W. Hart
-
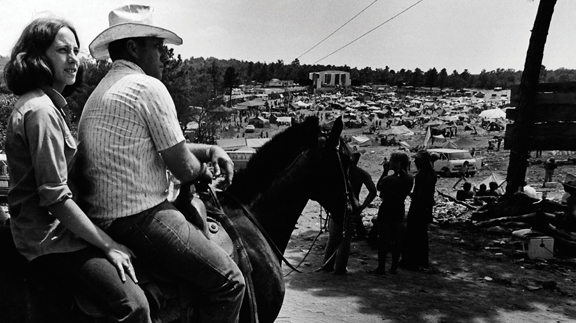 Attractions9 years ago
48 Hours in Atoka Remembered
-
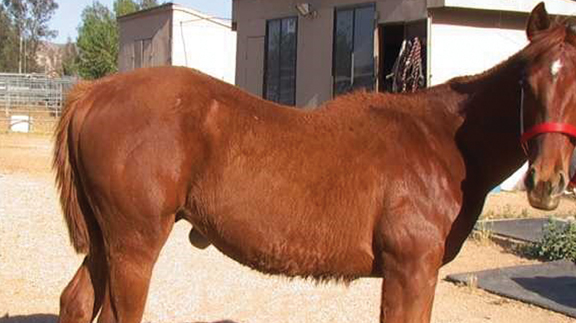 Equine9 years ago
Umbilical Hernia
-
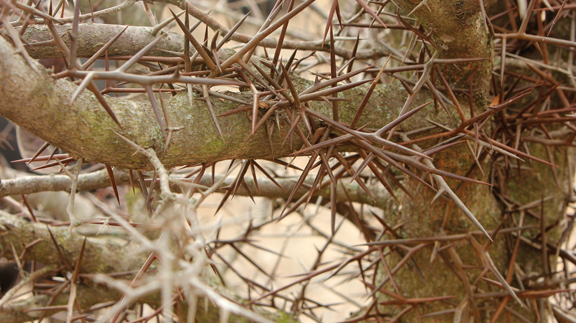 Outdoors8 years ago
Grazing Oklahoma: Honey Locust
-
 Country Lifestyle5 years ago
The Two Sides of Colten Jesse
-
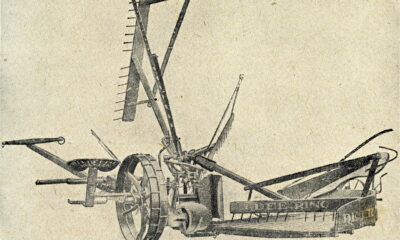
 Farm & Ranch1 year ago
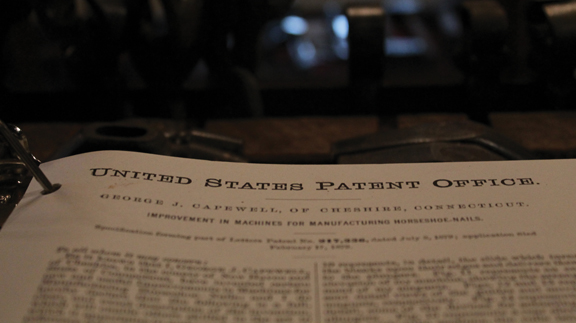
From Plow to Plentiful: The Most Important Inventions in Agricultural History
-
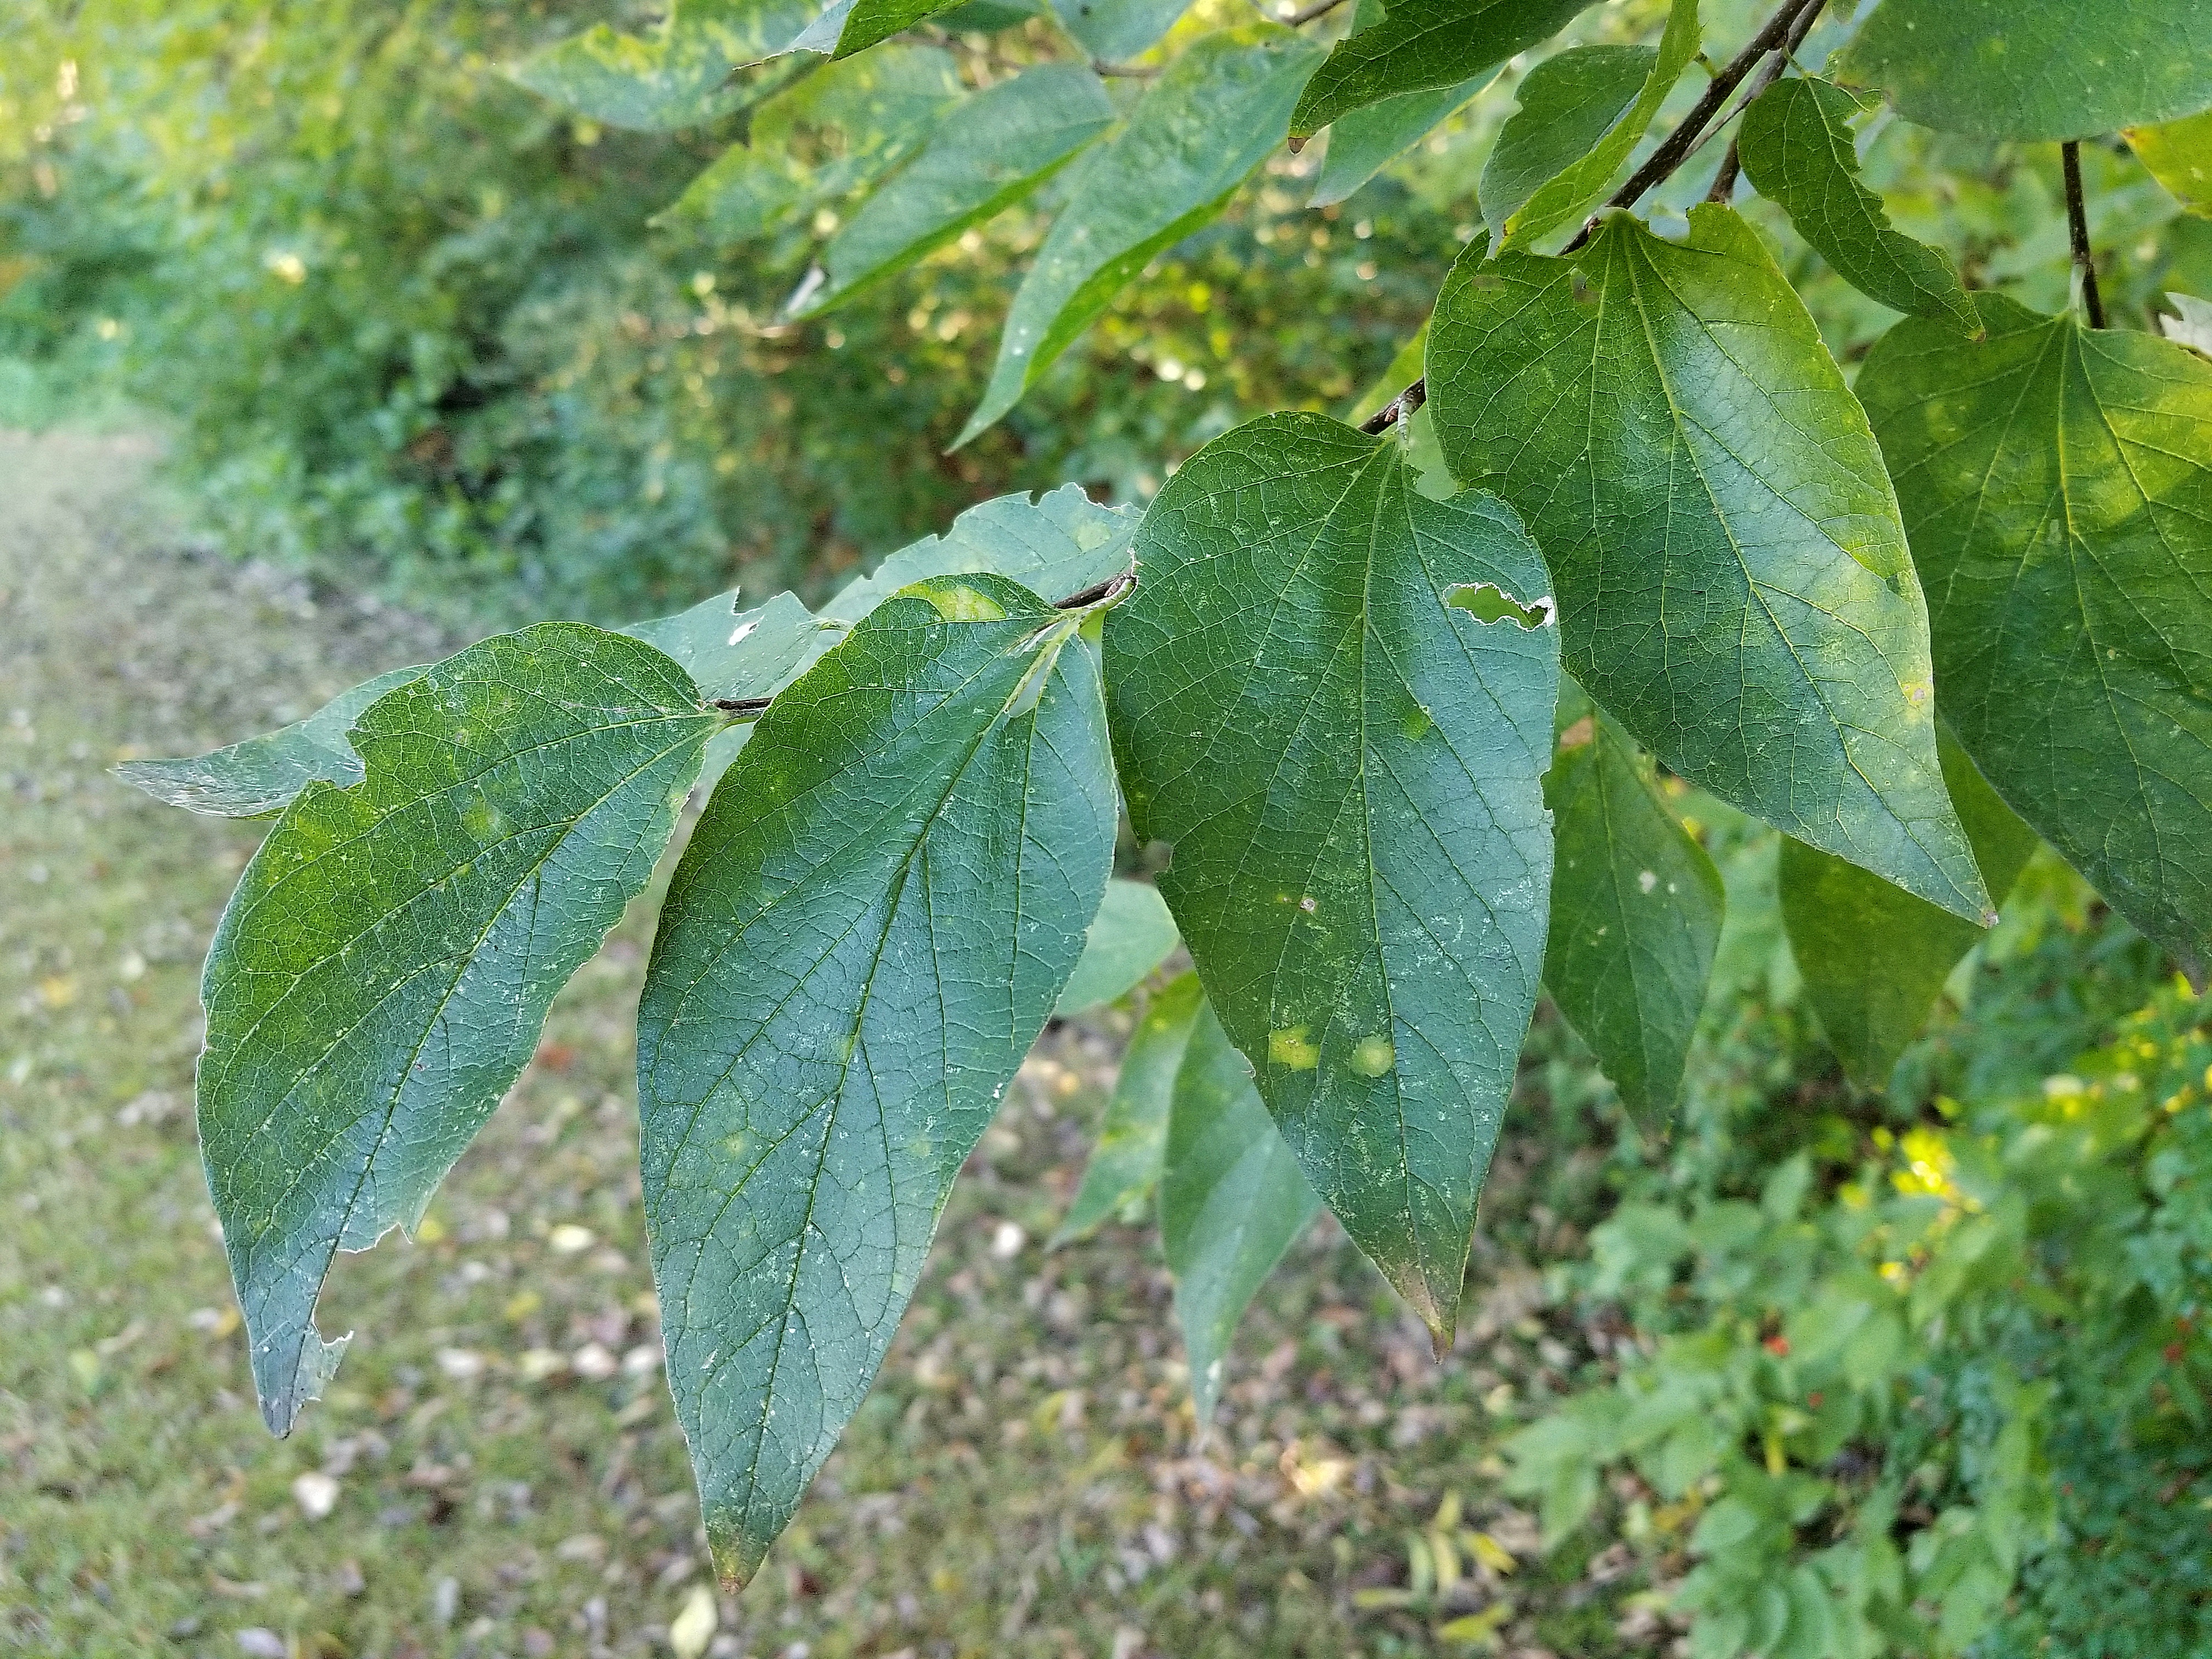 Farm & Ranch8 years ago
Hackberry (Celtis spp.)
-
 Equine6 years ago
On the Road with Emily Miller-Beisel