Country Lifestyle
Beef for Babies

Spring time is upon us! I enjoy Spring with its warmer, longer days and green grass rolling us from the dead of winter to a time of hope and renewal. I especially love all the spring time babies born on farms, ranches and nature in general.
Often in springtime, one of my three children has brought in a baby bunny in a box or a bottle calf that needed care for survival. Over the years, memorable bottle babies have given us fond memories. There was “Lucky,” found after his mom had already passed. The kids fed him and spent countless hours putting pretend bandages on his legs. We still have “Lily” who roamed the ranch as a mascot and played football with my son long after being weaned. She has blessed us with a strong calf the last four years.
My own children are now grown but we have two brand new granddaughters, two precious little girls. Just like you, we want to do everything we can to help the babies in our family grow strong and healthy.
Our granddaughters are just now beginning to eat solid food and add key nutrients to their diet. Some of the most important nutrients include protein, iron, zinc, calcium and healthy fats. These nutrients aid a baby’s growth both physically and intellectually.
Beef is an excellent source of protein, iron and zinc for little growing minds and bodies.
Protein and zinc are vital for growth, development and baby’s immune system. While iron is essential for a baby’s brain development and is a critical component of blood cells that deliver oxygen to tissues and cells throughout the body. Iron deficiency in the first two years may cause future delays in intellectual, behavioral and motor development. Beef for babies covers these vital nutrients and more!
“The American Academy of Pediatrics, the Women Infants and Children’s Program (WIC) and the Dietary Guidelines for Americans recommend introducing solid foods, like beef, to infants and toddlers, in order to pack in every bite protein, iron, zinc and choline” according to the American Pediatric Nutrition Handbook. 7th ed.
Whether you are a new parent, or a grandparent like me, here are some great tips from beefitswhatsfordinner.com for feeding baby healthy, nutritious beef:
6 – 8 MONTHS
At 6-8 months, your baby may be ready to make the transition from watery purees to smooth, pureed, single-ingredients foods such as pureed beef, pureed squash or pureed pears.
Making a “first food” baby beef puree at home is super easy. Cut lean beef, like roast or trimmed sirloin, into 1 inch chunks and cook by gently simmering in beef broth with a pinch of oregano, or any dried spice, until the beef is just done and brimming with flavor. Do not add salt. Next put beef into the blender for a quick puree and then spoon into ice cube trays for the freezer. All done in under 30 minutes, Beef is a perfect first food for babies.
Beef is especially great for your baby if you are concerned about your little one getting enough iron. You do not have to feed a lot of beef to reap the benefits. Even a spoonful or two stirred in with another favorite vegetable puree will give your baby valuable nutrients from beef.
8 – 10 MONTHS
During 8-10 months of age your baby can transition to chopped table foods such as shredded or chopped beef, well-cooked pasta, chopped cooked veggies or soft-cooked beans.
10 – 12 MONTHS
Between 10-12 months of age babies can start transitioning into chopped family food and practice with self-feeding using the spoon.
Beef for Babies Recipes
Not sure where to start? Here are three great recipes for Beef for Babies thanks to wholesomebabyfood.com:
Beefy Hash
(a twist on corned beef hash) – a great meal for self-feeders and everyone else too! Ingredients:
- 6 large potatoes, peeled and diced
- 3/4 pound of thinly sliced stew beef cubes or 1/2 ground beef
- 1 medium onion, chopped
- 1 cup beef broth (homemade or low sodium/low fat)
Directions:
Step 1: In a large deep skillet, over medium heat, combine the potatoes, beef cubes, onion, and beef broth.
Step 2: Cover and simmer until potatoes are of mashing consistency, and the liquid is almost gone.
Step 3: Add more liquid as needed.
Step 4: Mix well, and serve either mashed, pureed a wee bit or as finger food.
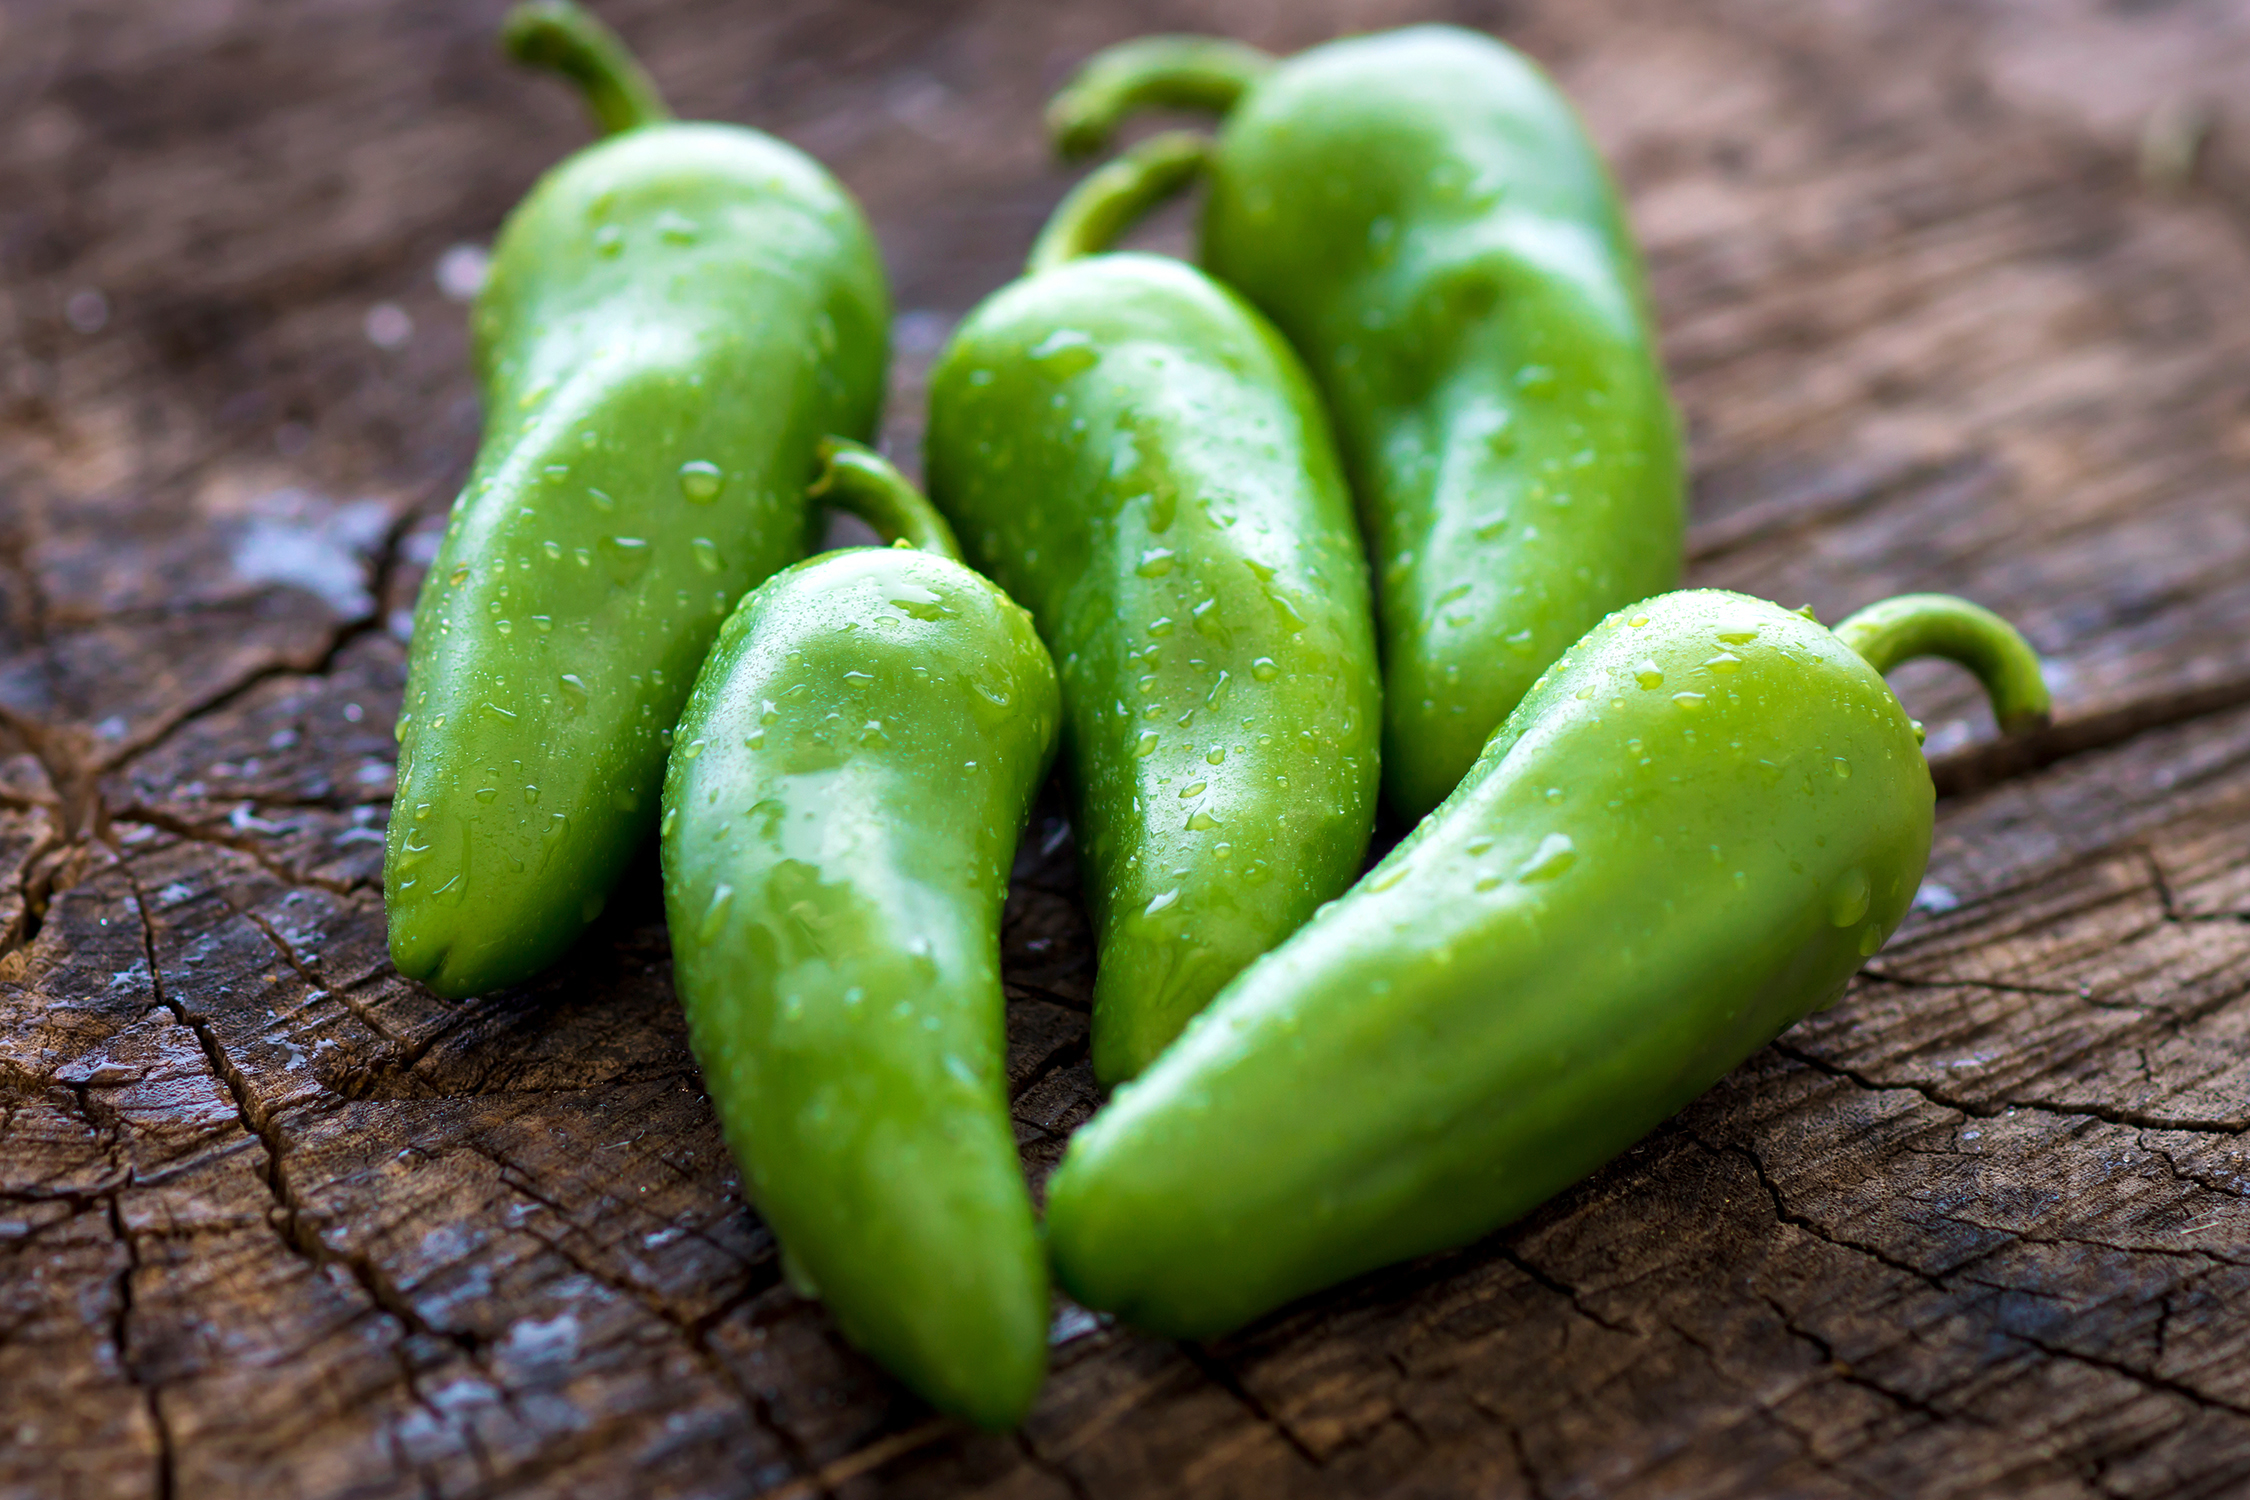
Most of us have been there. You take a bite of something that looks harmless enough, and within seconds, your mouth is on fire. Your eyes water, your nose runs, and suddenly you’re questioning every decision that led you to that moment. Whether it’s a jalapeño that packed more punch than expected or a sauce someone swore “wasn’t that bad,” peppers have a way of keeping people humble.
There is, however, a way to measure that heat before you ever take a bite. It’s called the Scoville scale, and it’s the standard used to rank just how hot a pepper can be. The measurement is expressed in Scoville Heat Units, or SHU. The higher the number, the more heat you can expect. A bell pepper sits at zero, meaning no heat at all. Jalapeños usually land somewhere between 2,500 and 8,000 SHU, while the upper end of the scale climbs into the millions.
The system dates back to 1912, when pharmacist Wilbur Scoville developed a method to test pepper heat. His approach was simple, if not a little impractical by today’s standards. Pepper extract was diluted with sugar water until a panel of tasters could no longer detect the burn. The more dilution required, the hotter the pepper. It worked, but it depended heavily on human perception, which is far from consistent.
Today, the process is far more precise. Instead of relying on taste, scientists measure the concentration of compounds called capsaicinoids using laboratory equipment. Those numbers are then converted into Scoville Heat Units. It takes the guesswork out of the equation and gives growers, processors, and consumers a reliable way to compare peppers.
Capsaicinoids are the group of compounds responsible for heat, with capsaicin being the main contributor. Contrary to what a lot of people believe, the seeds are not where the heat lives. Most of it is concentrated in the white inner ribs of the pepper. The seeds can seem hot because they come into contact with those oils, but removing the inner ribs is the most effective way to dial the heat back while keeping the flavor.
That burning sensation you feel isn’t actually heat in the traditional sense. Capsaicin interacts with receptors in your mouth that are designed to detect pain and temperature. Your brain reads that signal as burning, even though there’s no physical damage being done at typical levels. Depending on how much you’ve had, that sensation can linger anywhere from a few minutes to well over half an hour.
One thing worth keeping in mind is that not all peppers are created equal, even within the same variety. Growing conditions, soil, weather, and maturity all play a role in how much capsaicin a pepper develops. Two jalapeños from different fields, or even different plants in the same field, can vary more than you might expect.
At the far end of the scale are peppers that push the limits of what most people would consider edible. Varieties like the Carolina Reaper have recorded levels exceeding 2 million SHU. That’s well beyond the point of casual consumption and into territory where even a small amount can be overwhelming. While some people seek that level of heat for the challenge, it’s not something to take lightly.
For everyday use, the Scoville scale is less about chasing extremes and more about making informed choices. If you know your comfort level, you can select peppers that add flavor without overpowering a dish. It also helps explain why a recipe that calls for “one pepper” can turn out very differently depending on what you pick up at the store or out of the garden.
In the end, that moment when your mouth feels like it’s on fire isn’t as mysterious as it seems. There’s a system behind it, and a little understanding of the Scoville scale can go a long way in keeping your next bite from turning into a regret.
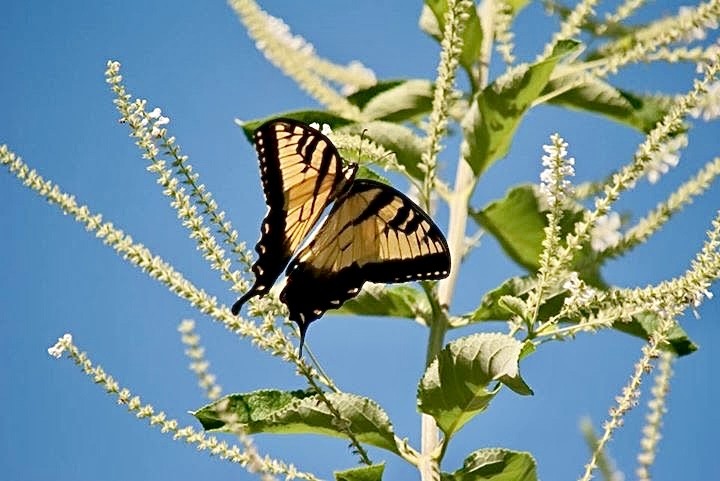
When most people think about wildlife on a ranch, they probably picture deer slipping through the trees, turkeys moving across a pasture or quail flushing from cover. Those species matter, and many landowners manage with them in mind. But some of the most important wildlife on a farm or ranch is much smaller. Bees, butterflies, moths, beetles, flies, wasps, hummingbirds and even bats all play a part in keeping native plants and food systems working.
Pollinators move pollen from one flower to another, which allows many plants to produce seed, fruit and the next generation of growth. That matters in gardens and orchards, but it also matters in pastures, prairies and native rangeland. According to the article provided, the United States Department of Agriculture reports that 75 percent of the world’s flowering plants and about 35 percent of the world’s food crops depend on animal pollinators to reproduce.
For Oklahoma ranchers, pollinators are more than something nice to see on a warm afternoon. They are tied to plant diversity, soil cover, wildlife habitat and the overall health of the land.
A pasture with flowers, seed-producing plants and a mix of grasses and forbs usually supports more life than a pasture with only one or two plant types. That does not mean every acre has to look wild or unmanaged. It means diversity has value. A ranch that supports many kinds of plants can also support many kinds of insects. Those insects feed birds, turkey poults, quail chicks, bats and other wildlife. Some predatory insects also help keep pest insects in check.
Pollinators are a sign that something is working. If butterflies, bees and other beneficial insects are present, the land is likely offering food, cover and seasonal blooms. If they are absent, it may be worth asking why. There may not be enough flowering plants. Grazing pressure may be too heavy at the wrong time. Herbicide use may be reducing the plants pollinators need. The issue may be drought, timing or a lack of plant variety.
The monarch butterfly is one of the best-known examples. Monarchs need milkweed because it is the only food source for their caterpillars. Adult monarchs also need nectar plants, especially during migration. Oklahoma sits in an important part of that migration route. In spring, monarchs moving north need milkweed for reproduction. In fall, monarchs moving south need blooming plants for energy before continuing toward Mexico.
That fall food source can be easy to overlook. A pasture may have plenty of grass and still offer little for a migrating butterfly if there are no flowers in bloom. Late-season plants such as Maximilian sunflower, blazing star, goldenrod, asters and cowpen daisy can make a difference. In the Noble Research Institute article, Will Moseley said their monarch monitoring showed a simple result: butterflies were found where flowering plants were present, and they were not found where flowers were absent.
That is a useful lesson for any landowner. Pollinator habitat does not have to be complicated. It starts with plants.
For ranchers, the goal is not to turn working land into a flower bed. The goal is to manage in a way that leaves room for useful plants to grow, bloom and set seed. Grazing management can help. If the same pasture is grazed hard at the same time every year, the same plants may get set back again and again. Changing grazing timing, leaving rest periods and avoiding overuse can give more plants a chance to bloom. Rotational grazing, when planned well, can benefit both livestock and pollinators.
Prescribed fire can also be useful when used carefully and legally. Fire timing matters. Burning every acre the same way at the same time can favor some plants and reduce others. Varying burn timing across years and pastures can create a more mixed plant community. That variety can help pollinators, ground-nesting birds and grazing animals.
Herbicide use is another consideration. There are times when herbicides are needed, especially for invasive or problem plants. But broad use can also remove the forbs that bees and butterflies depend on. Spot spraying, proper timing and targeted control can help landowners manage weeds while keeping beneficial plants in the pasture. Every place is different, so the best plan depends on the ranch’s goals, plant community and problem species.
Pollinators also need nesting sites. Not all bees live in hives. In fact, many native bees nest in the ground, hollow stems or cavities in wood. Leaving some undisturbed areas, standing stems, brushy edges or bare patches of well-drained soil can support native bees. A perfectly clean landscape is often less useful to wildlife than one with some structure and variety.
Water can help as well. Shallow water sources, damp soil or safe access around ponds and tanks can be useful, especially during dry weather. The key is to avoid drowning hazards. Small stones, floating wood or shallow edges can give insects a place to land.
For landowners interested in beekeeping, honey bees can become another small enterprise. A few hives may provide honey for family, gifts or local sales. Local honey often has a strong market, and bees can fit well on small acreages or larger ranches. Still, honey bees are livestock and need management. New beekeepers should start small, learn from an experienced mentor and understand seasonal care before investing heavily. The Noble article shared advice from Josh and Brook Gaskamp, who recommended getting a mentor, starting small and experimenting until finding what works.
Beekeeping is not the only way to support pollinators, though. A person can help pollinators without owning a single hive. Planting native flowers, protecting milkweed, reducing unnecessary pesticide use and allowing some areas to bloom can all help. Even fence rows, field corners, creek banks and lightly used areas can become valuable habitat when managed with pollinators in mind.
Pollinators also add enjoyment to the land. There is something rewarding about seeing monarchs on fall flowers, bumble bees working a patch of blooms or hummingbirds visiting trumpet-shaped flowers near the house. Those moments remind landowners that a ranch is more than livestock, fences and forage. It is a living system.
For many producers, the practical reason to care about pollinators is simple. What helps pollinators often helps the whole ranch. More plant diversity can mean better soil cover, more wildlife habitat, more insects for birds, more seasonal forage options and a landscape that can better handle stress. Pollinators are part of that bigger picture.
A ranch does not have to be managed only for bees or butterflies to benefit them. In many cases, good land stewardship already points in the right direction. Avoid overgrazing. Encourage plant diversity. Leave some blooms. Be careful with chemicals. Think about timing. Watch what shows up.
The smallest wildlife on the ranch can tell a big story about the health of the land. When the flowers are blooming and the pollinators are working, it is a good sign the pasture is doing more than growing grass. It is supporting life from the ground up.
Total Time: 1 hour and 40 minutes
Servings: 10
2 medium apples (any type), peeled, cored & diced
1/3 cup brown sugar
1 tsp cinnamon
1/2 cup unsalted butter, softened
2/3 cup granulated sugar
2 large eggs
1 1/2 tsp vanilla extract
1 1/2 cups all-purpose flour
1 3/4 tsp baking powder
1/2 cup milk
For the Glaze:
- 1/2 cup (60g) powdered sugar
1–2 tbsp milk
1/4 tsp vanilla extract
Instructions:
Preheat oven to 350°F. Grease and line a 9×5-inch loaf pan with parchment paper.
Peel and chop apples and place in a bowl with brown sugar and cinnamon. Toss and set aside.
In a large mixing bowl, cream together butter and granulated sugar until light and fluffy. Beat in eggs one at a time, then add vanilla. In a separate bowl, whisk together flour and baking powder. Gradually add dry ingredients to the butter mixture, alternating with milk, mixing until just combined.
Next, pour half of the batter into the loaf pan, top with half of the apple mixture, then repeat with remaining batter and apples. Lightly swirl with a knife for a marbled effect.
Bake for 50–55 minutes, or until a toothpick inserted in the center comes out clean.
Cool in pan for 10 minutes, then transfer to a wire rack to cool completely.
In a small bowl, whisk together powdered sugar, milk, and vanilla until smooth. Drizzle over cooled bread.
Slice and enjoy warm or at room temperature.


-
 Country Lifestyle2 years ago
July 2017 Profile: J.W. Hart
-
 Attractions9 years ago
48 Hours in Atoka Remembered
-
 Farm & Ranch2 years ago
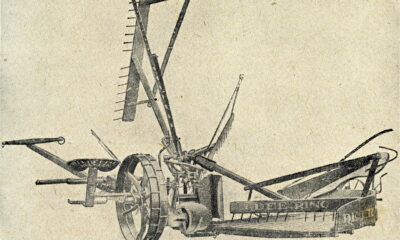
From Plow to Plentiful: The Most Important Inventions in Agricultural History
-
 Equine9 years ago
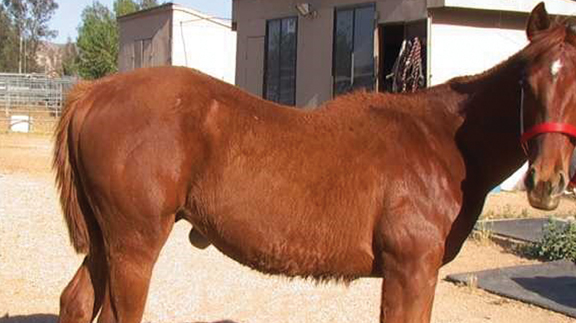
Umbilical Hernia
-
 Outdoors8 years ago
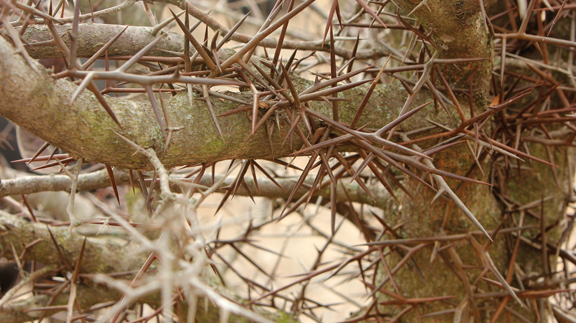
Grazing Oklahoma: Honey Locust
-
 Country Lifestyle5 years ago
The Two Sides of Colten Jesse
-
 Farm & Ranch8 years ago
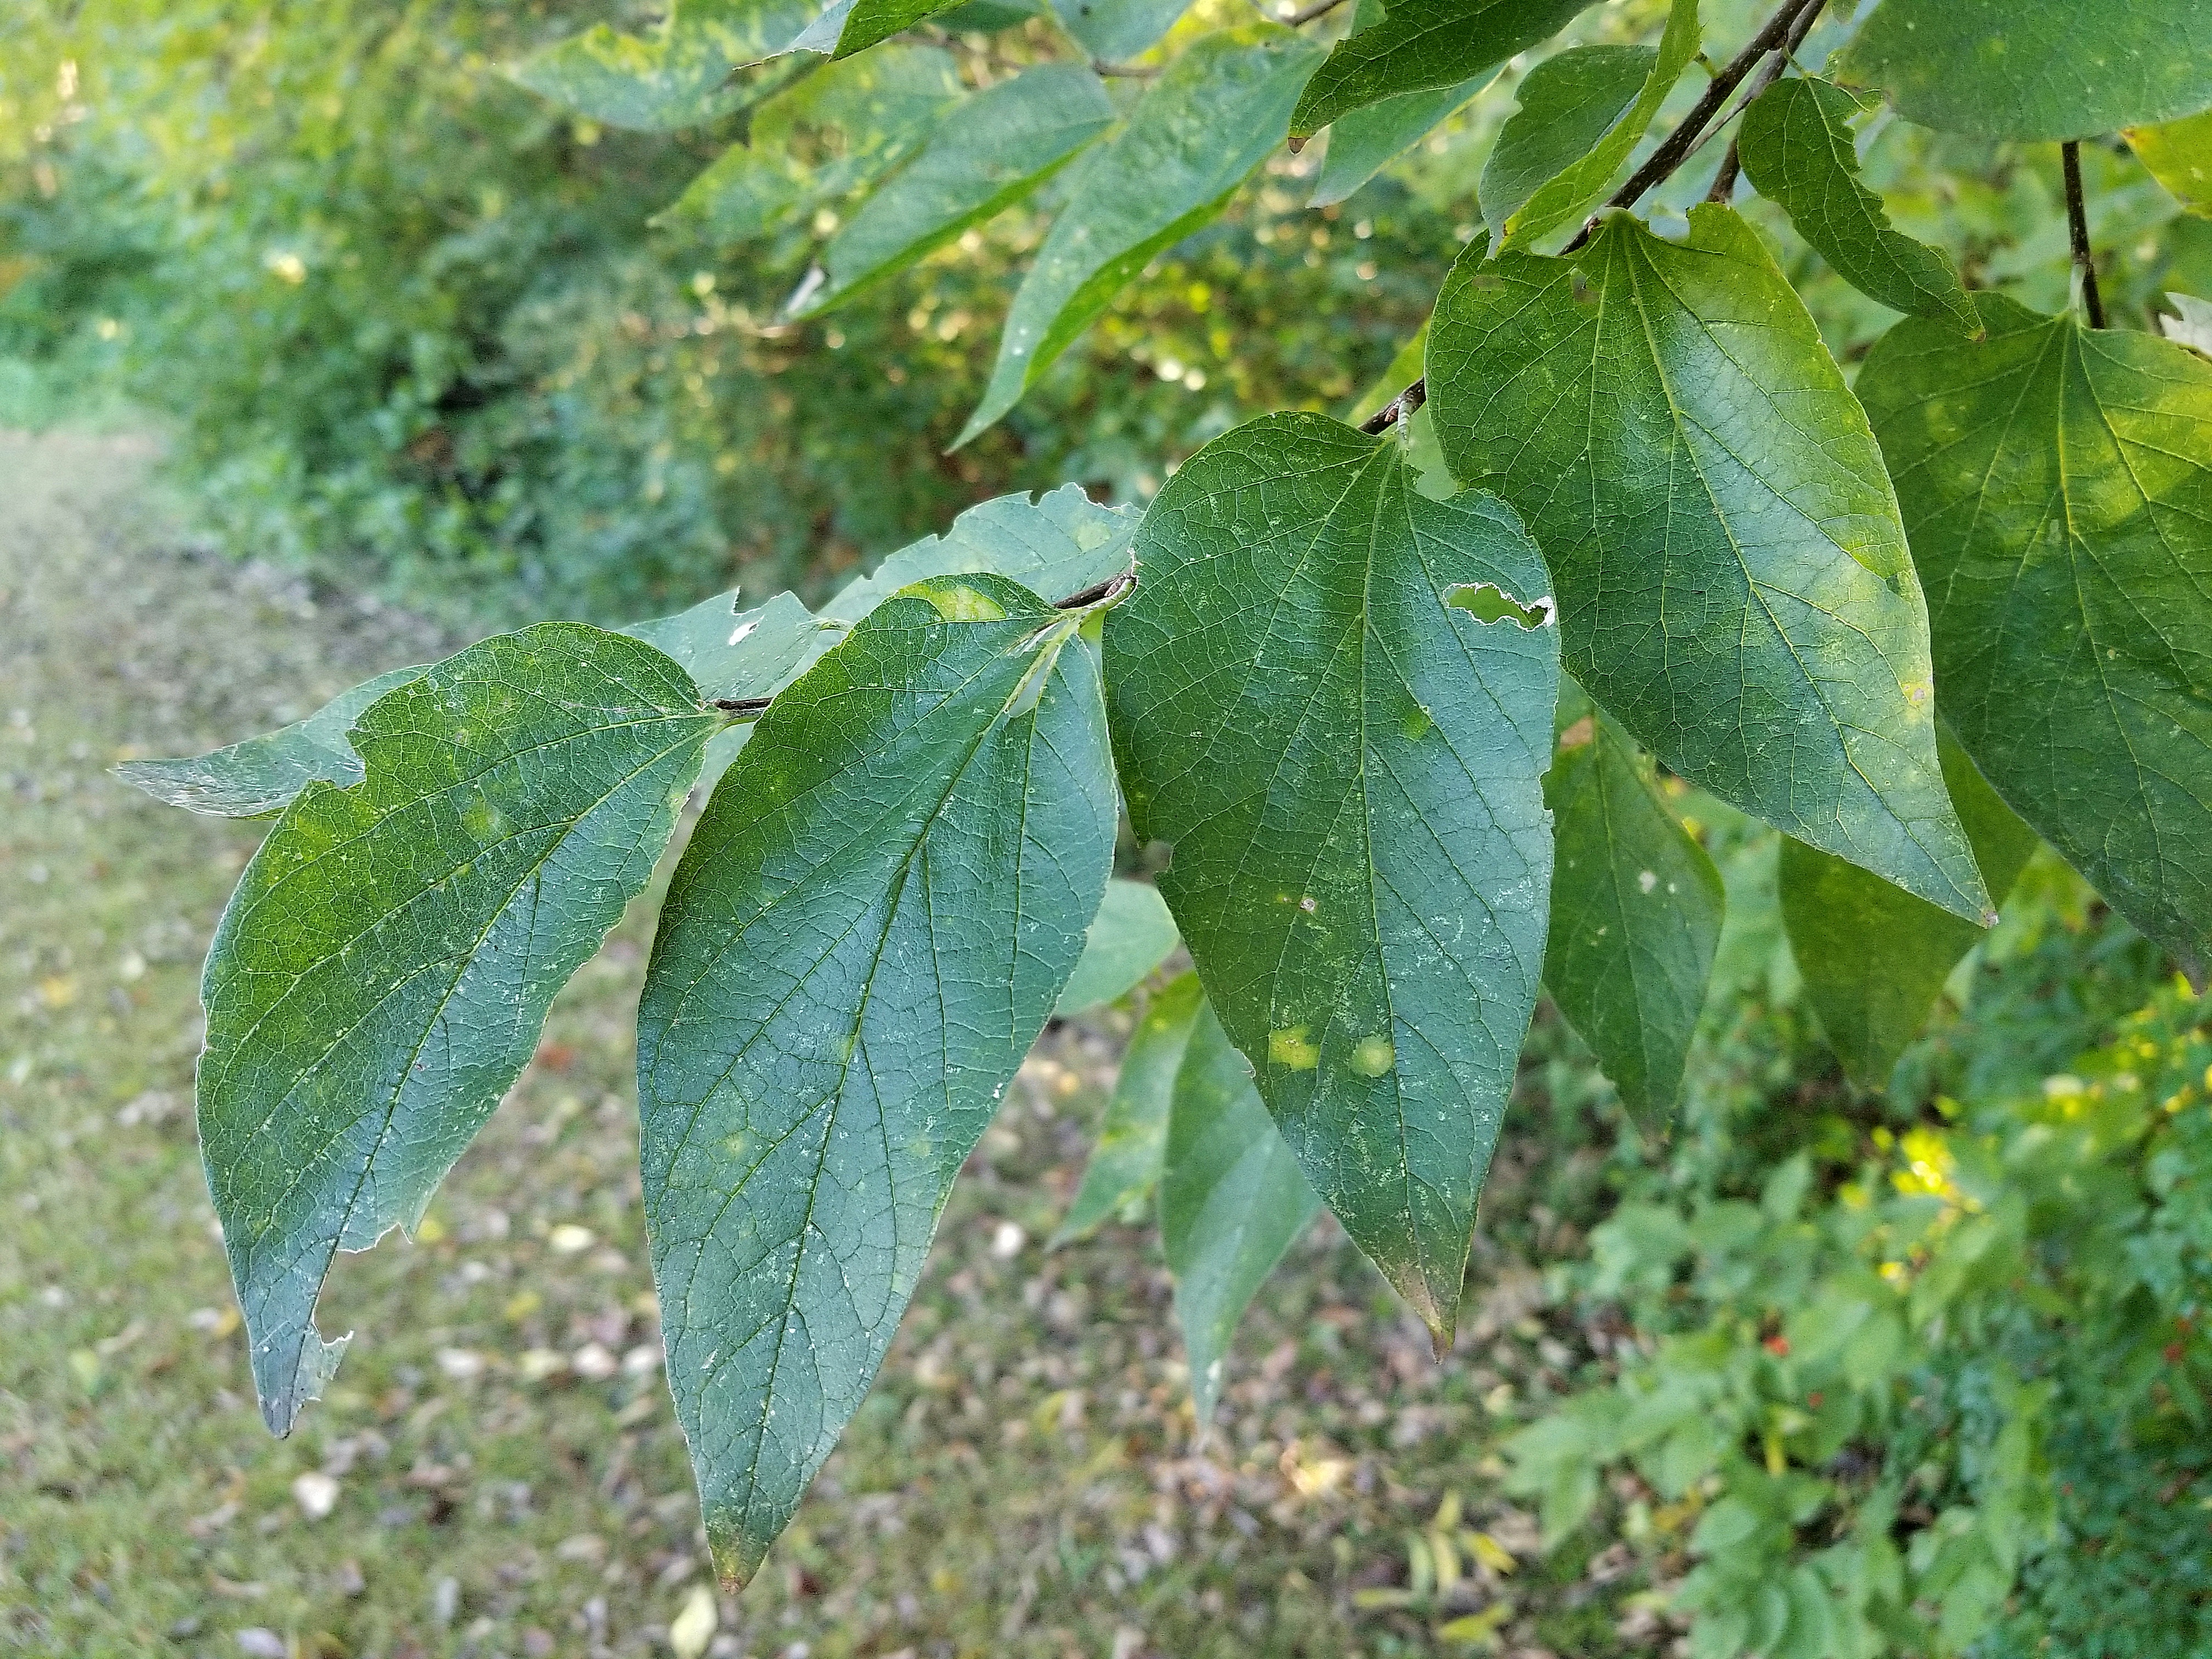
Hackberry (Celtis spp.)
-
 Equine6 years ago
On the Road with Emily Miller-Beisel